They are paid steps, but not very expensive, you can look for their free alternatives.
We have 2 types of IPs:
- Public IP
- Private IP
The public IP is assigned by our ISP, that is, the Internet company, it is unique throughout the world and is accessible from the Internet.
For security reasons, our router blocks internet traffic to our public IP.
A private IP is an IP address that is used within a local area network (LAN) to communicate between devices.
Private IPs cannot be accessed from the Internet.
Private IPs are assigned by the router within the local network, not the ISP..
know our public IP
command by terminal
curl ipinfo.io/ipreturns
XXX.XX.XXX.XXX%here on these websites too:
In those places you will get an IPv4,Even if you have IPv6.
To configure it on the router it works, but to access it it is with IPv6.
know our private IP
command by terminal
ipconfig getifaddr en0returns
192.XXX.X.Xwhat is localhost?
- For example, you can access a web server running on the device itself using the URL http://localhost instead of http://127.0.0.1.
- The IP address 127.0.0.1 is a special IP address used to refer to the device itself.
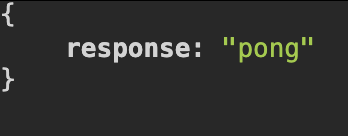
for example, if you have a server on port 8080, which responds to /ping
http://localhost:8080/pingIt gives you back something like
| {response: “pong”} |
if you call
http://192.168.0.7:8080/pingwill give you back the same
| {response: “pong”} |
Same if instead of localhost you use 127.0.0.1
http://127.0.0.1:8080/ping| {response: “pong”} |
The public IP changes from time to time or if you restart the router, which is why it is called a dynamic IP.
We need to assign a static IP to the IP that varies.
That’s called DDNS, dynamic dns.
A well-known page is dyn https://account.dyn.com/
It has a software called dyn updater that is installed on our computer, which updates the variable IP automatically in dyn, it is listening all the time and if the public IP varies it automatically modifies it in dyn, it can be configured to start when our PC starts.
Where to download dyn updater https://help.dyn.com/updater/?_gl=1*1ovtqpp*_ga*MTAwMzg3MDIxMi4xNzM1NjEwMDQx*_ga_99HTM2FJH5*MTczNTc0OTE1NC43LjEuMTczNTc0OTE1NS4wLjAuMA..
Then we will have our automatically updated variable public IP assigned to a static hostname in dyn.
You have many domains to choose from, one can be dyndns.org.
If you choose dyndns.org you get: HOSTNAME.dyndns.org
That hostname is easy to remember and is static, it does not change.
That is, we assign our variable public IP to a static hostname.
And we don’t worry about updating the variable public IP, that’s done automatically by dyn updater.
We will access the equipment through the hostname given by dyn.
There are 2 things to do with the router:
- allow remote access
- configure the network to allow incoming traffic
This is the part I don’t understand but it works.
The complete diagram looks like this:
localhost:port -> private_ip:port -> public_ip:port -> hostname_dyn -> domain_dns
This section private_ip:port -> public_ip:port It is a redirection and is called port forwarding.
private_ip is ipv4, public_ip is ipv6.
But in the router I enter a public IPv4 to a private IPv4.
One of those websites gives me a public IPv4, I think it translates from IPv6 to IPv4.
When I have more information about that I will update this section.
I’m going to do it with a router brand: sagecom model: f@st 8090 v3 TLC.
V3, It’s because it’s version 3.
TLC I don’t know where it comes from.
Sagemcom is a French company specializing in the design, development and manufacturing of communications and electronics equipment for various sectors, Telecommunications: Sagemcom is a major supplier of telecommunications equipment such as routers, modems and gateways.
in 2008, after the merger of Sagem and Completel.
This is where Sagemcom came from.
The IP address of the Sagemcom F@st 8090 v3 TLC router is:
192.168.0.1There you can access the router settings.
You have to enter the username and password to access the router configuration. This is on the router label. If not, call technical support and they will tell you how to access it.
There are 2 versions of IP:
- ipV4
- ipV6
- IPv4: 32 bits, allowing for approximately 4.3 billion unique addresses.
- IPv6: 128 bits, which allows approximately 340.282.366.920.938.463.463.374.607.431.768.211.456 unique addresses.
Notation
- IPv4: dotted decimal notation is used (for example, 192.168.1.1).
- IPv6: colon-separated hexadecimal notation is used (e.g.,2001:0db8:85a3:0000:0000:8a2e:0370:7334).
In my case, my router has public IPv6 IP
Explanation of how the internet connects to the router
via public ip and port (port triggering).
Then the router redirects the traffic to a private IP and port (port forwarding).
It is analogous to a building and its departments.
The building address is the public IP, the apartment number is the private IP, and the janitor is the router.
The concierge receives a letter to the building and redirects it to a department.
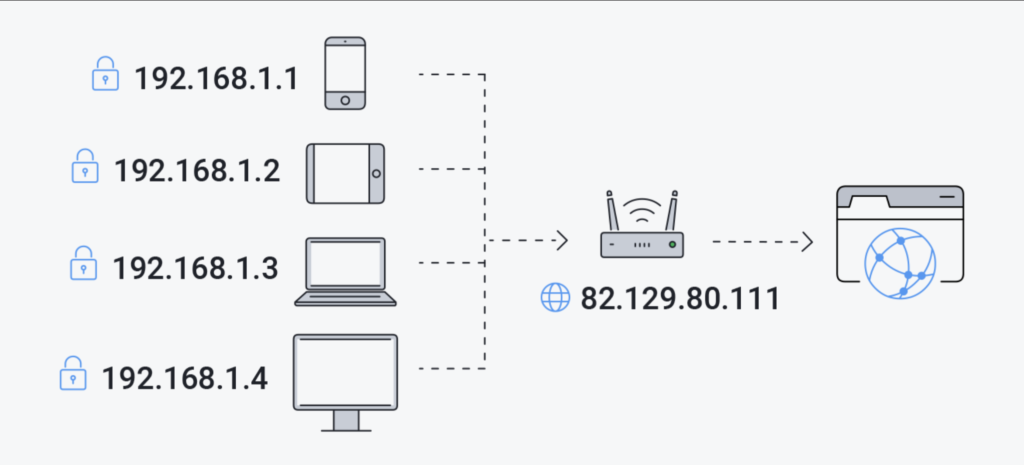
we must do both:
- port triggering: enable a specific port >8000 on the public IP, i.e. on the router.
- port forwarding: redirect traffic from a public IP and port to a private IP and port.
Enable a port on the public IP on the Sagemcom router model f@st 8090 v3 TLC:
First we must go to the router configuration page
Mine is https://192.168.0.1
It can also be 192.168.1.1
You must enter the router’s username and password.
You can find them on the physical label that comes with the router.

and you search, To configure route triggering:
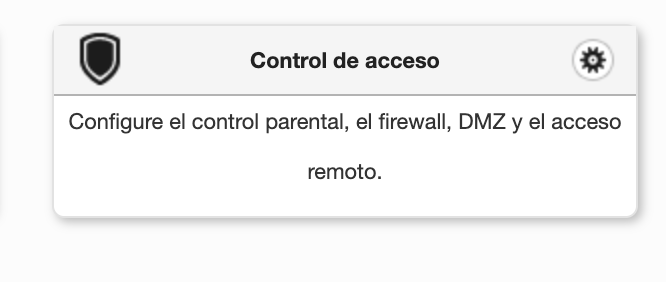
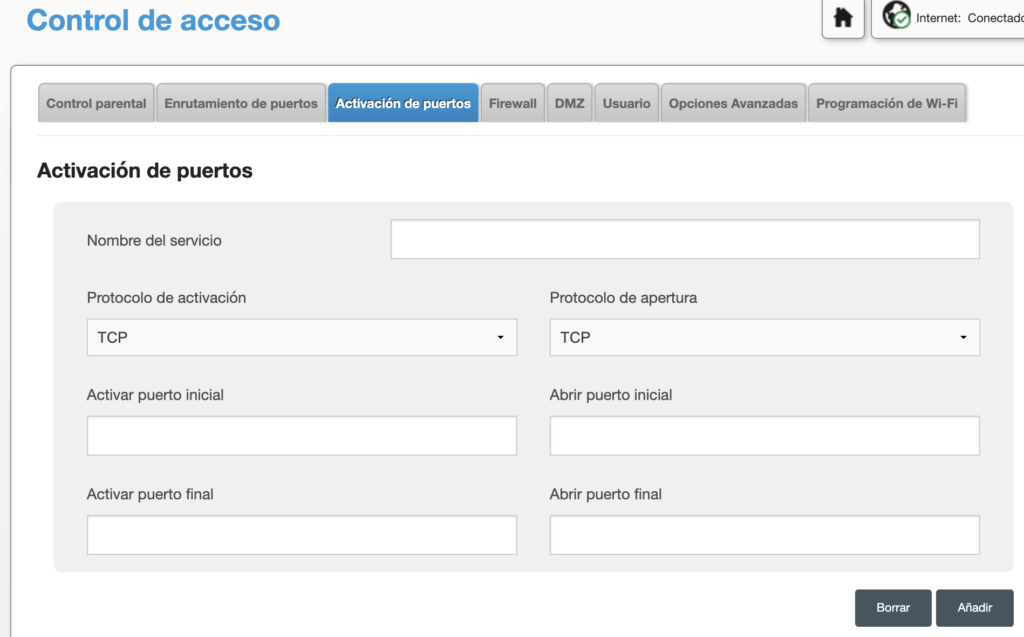
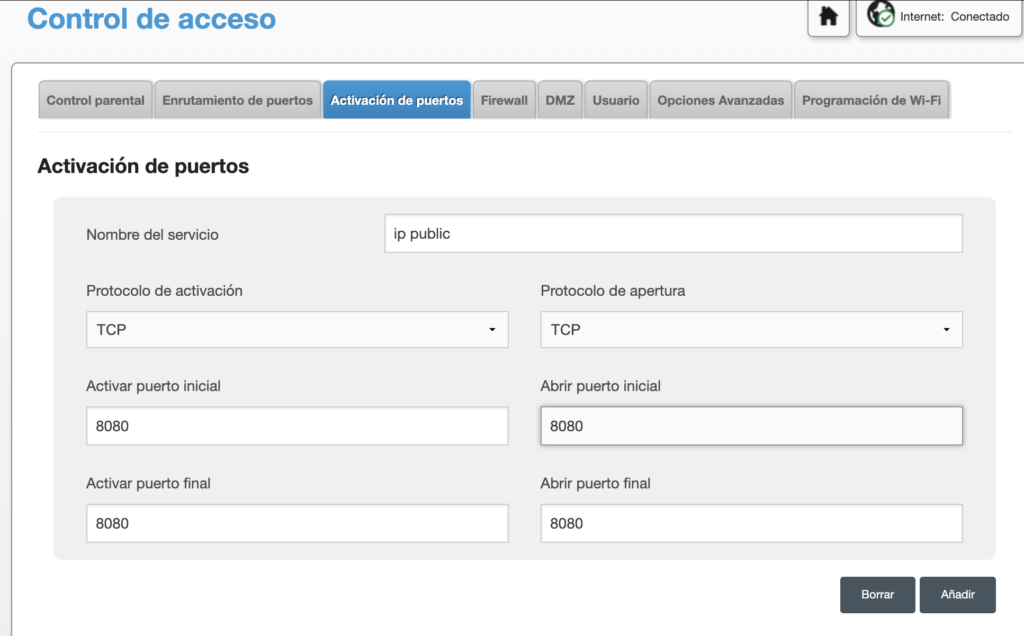
new rule is added below:

We can edit it if we want:
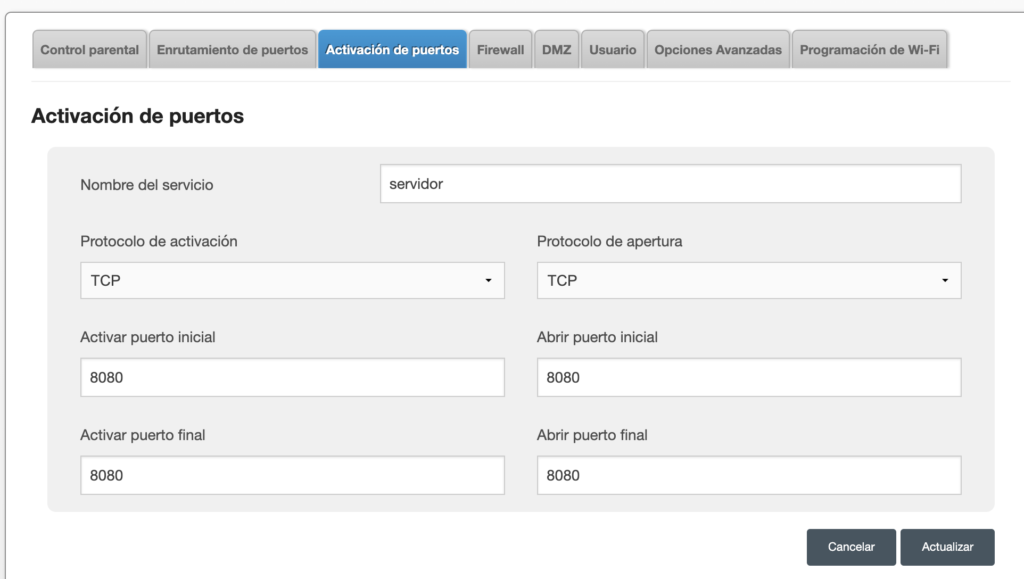
and we will see the changes:

configure route forwarding:

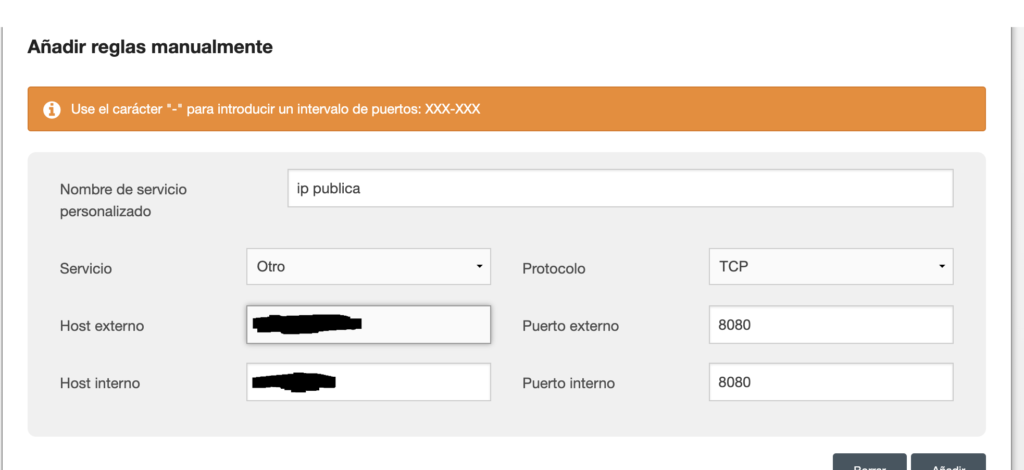
After loading, you will see the rule below

Another example:
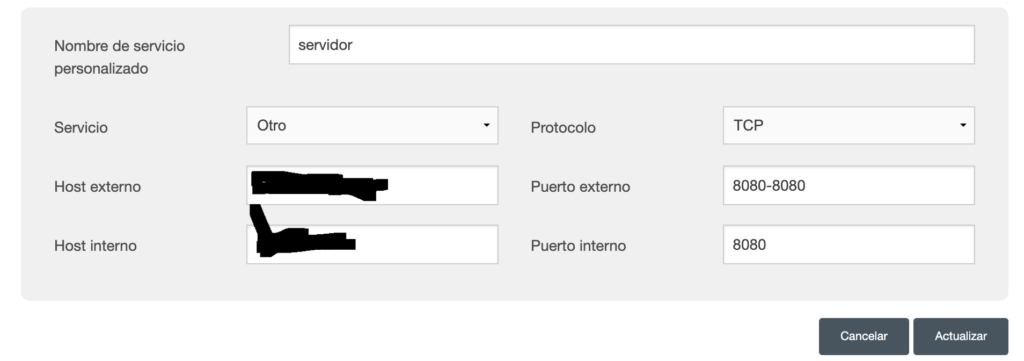
With tools like telnet you can see if an IP and port are available
We specify with -6 that it is an IPv6
We write the public IPv6 IP and the activated port
you can install telnet on mac from terminal with homebrew
brew install telnet
from web browsers and postman
In the web browser in the address bar, type the IPv6 in brackets []

In postman, IPv6 is written in brackets []
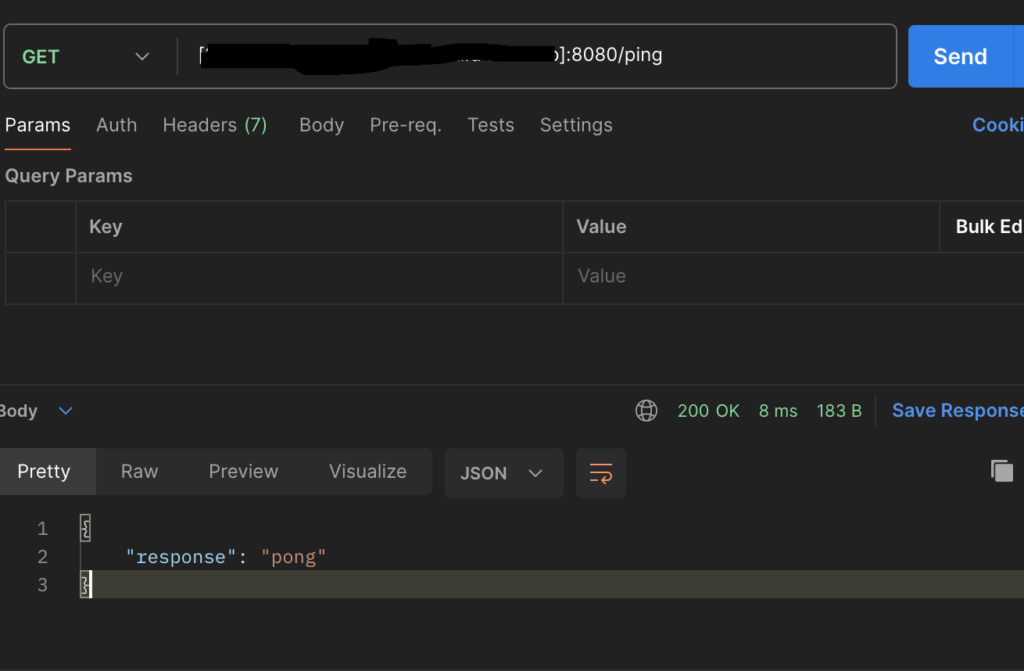
you can write the hostname given by dyn instead of your variable public ip

In all cases you will get the same answer
I already explained to you how from a fixed dyn hostname you can access your computer to localhost and a port if you have an api.
My goal is to install a Linux distribution on a PC that I don’t use, have Docker with Kubernetes for my applications, a web FTP server, a VPS and whatever else I can think of.
When you see someone mention just an “IP address,” they are probably referring to a public one.
Now assign a DNS name to the hostname of dyn, that is, ddns
I bought a .com on donweb https://donweb.com/
Then in the domains section search for my .com https://micuenta.donweb.com/es-ar/servicios/dominios
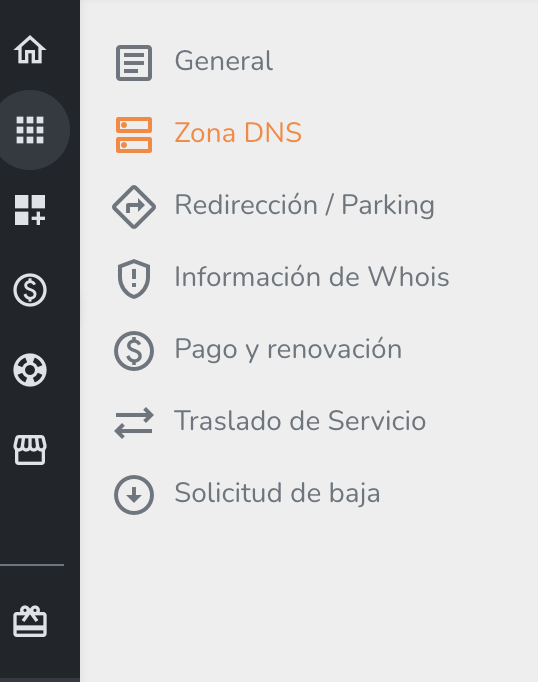
choose it and go to dns zone.
There are the DNS records.
You need to create 2 CNAME records.
You’ll see something like that
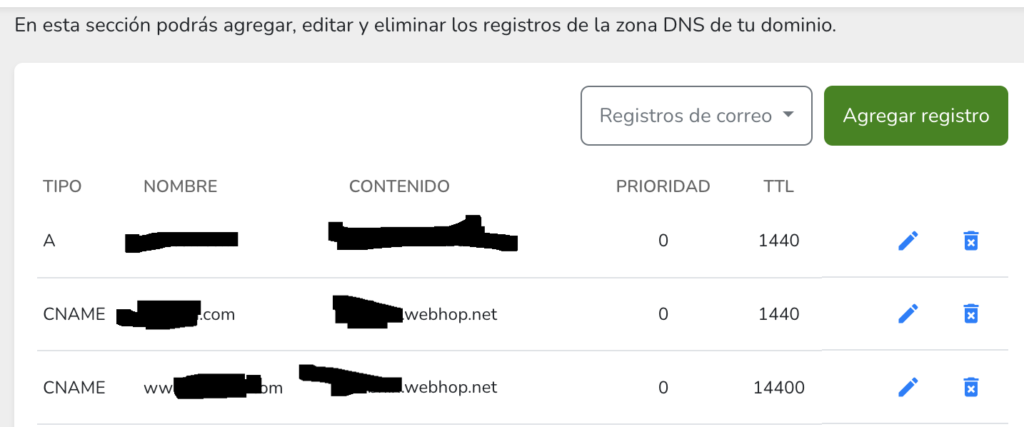
A cname record is an alias.
If I have a.com and b.com I can use a cname record so that when I call a.com I actually call b.com.
because 2 cnames: one for www. and one for non-www.
A cname has no relation to whether it is http or https.
An alias is a syntactical replacement.
if www.a.com is an alias of www.b.com
Entering www.a.com is like typing www.b.com
In that case, if you insert an SSL certificate, it is for www.b.com and not for www.a.com.
for now it only works with http.
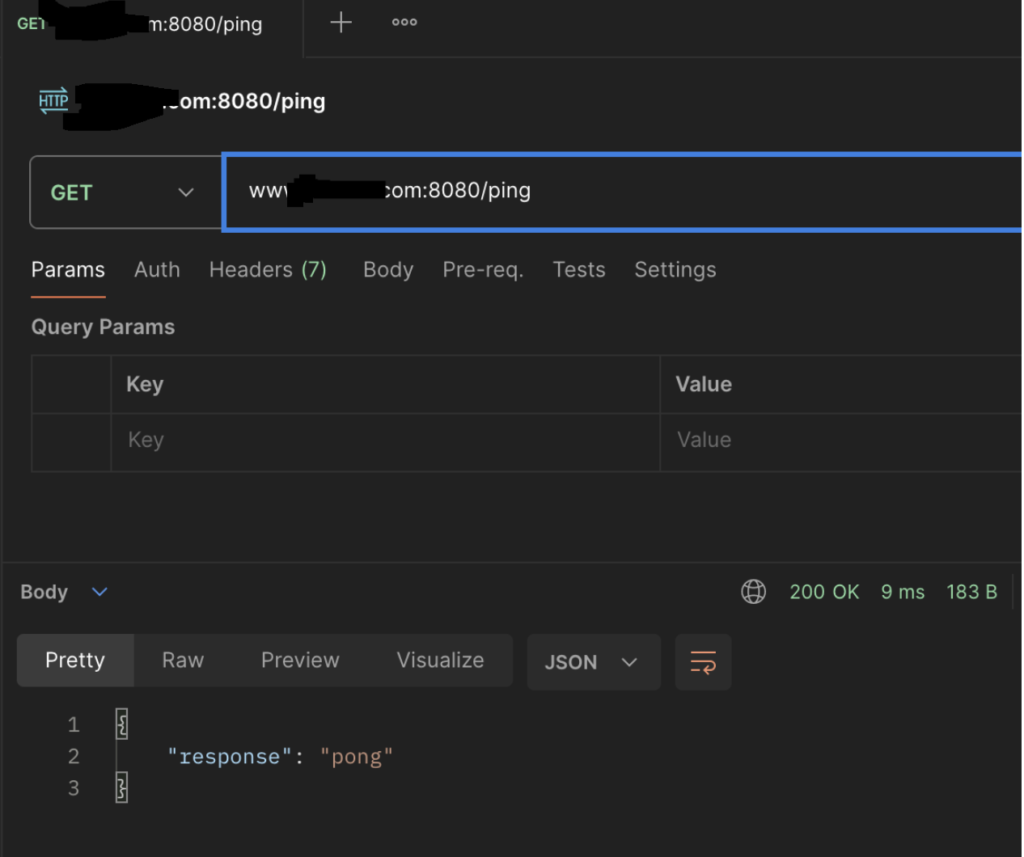
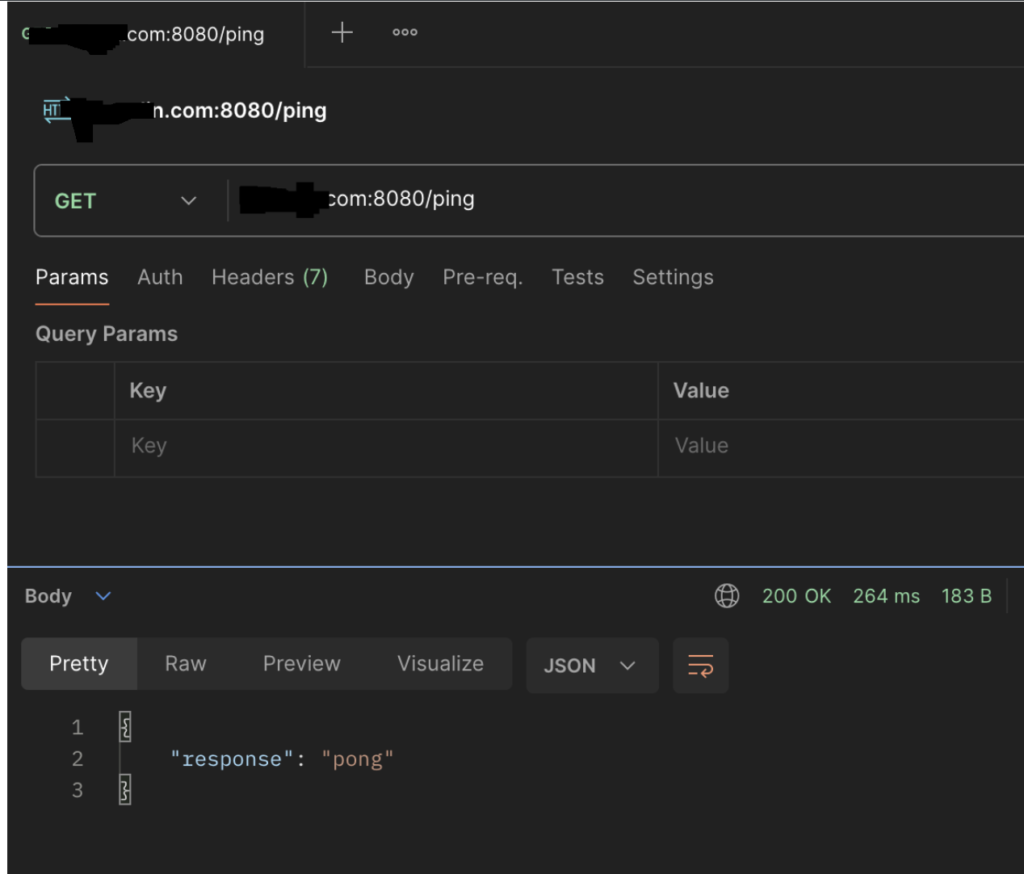
test that everything works well
in postman with www.
in postman without www.
and in the web browser

After a .com domain you call your variable public IP.
It may not work on another computer, that’s because the domain takes time to propagate.
on your computer network it spreads instantly since you created the domain.
ssl certificate to access via https
The DNS domain probably does not have the SSL certificates.
so you can access with https and not with http.
If you enter the browser through WhatsApp, the URL is auto-completed with https and you will not be able to access the content.
That is why you should install SSL certificates to be able to access with https, it is also more secure.
In Donweb you can get an SSL certificate, it is provided by Sectigo and is called Sectigo Positive.
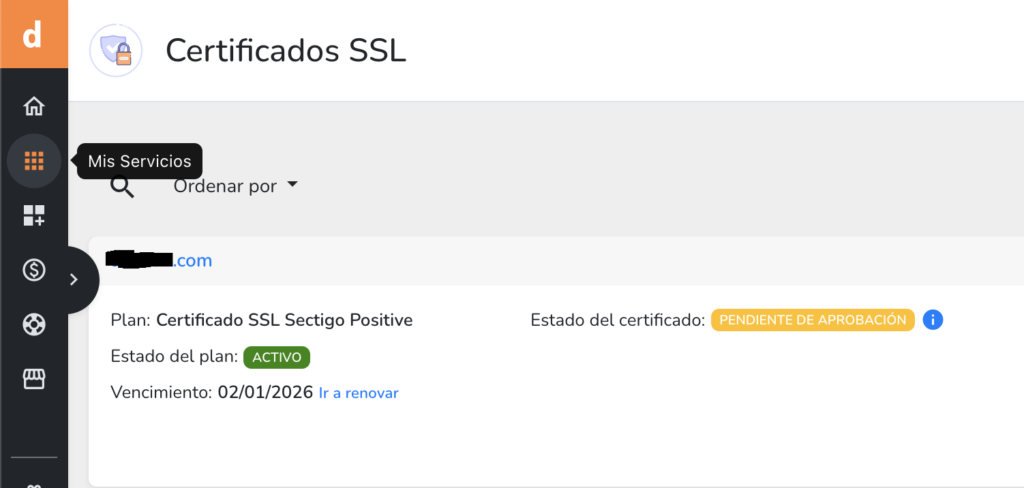

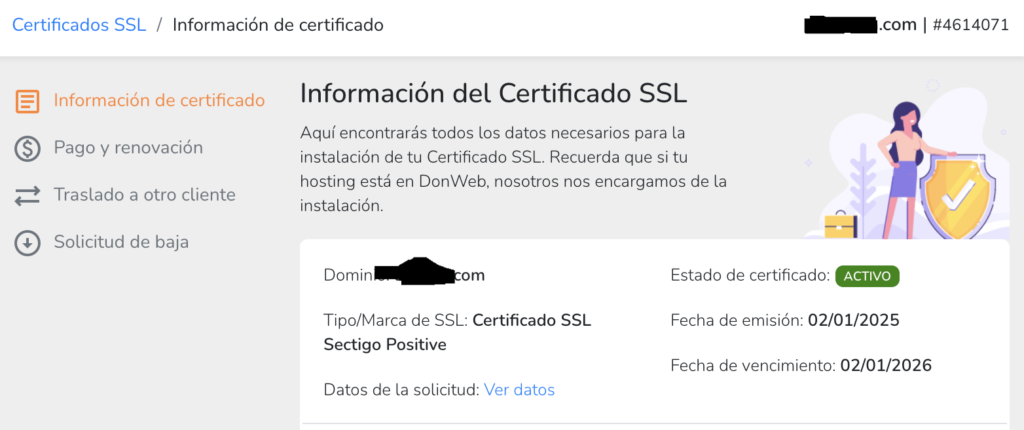
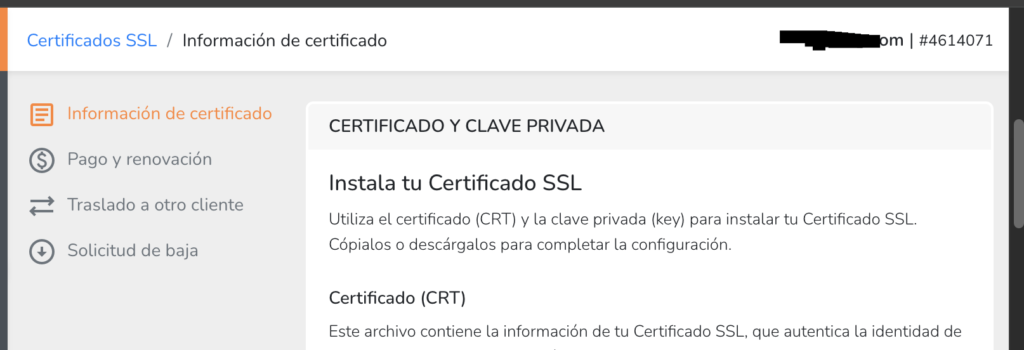
There are free and paid ones.
the paid option is not very expensive.
They have to approve it for you, it is an automatic process.
In another section I explain how to install an SSL certificate to a Java SpringBoot application.
In these images you will see that I access via https through Chrome and Firefox.

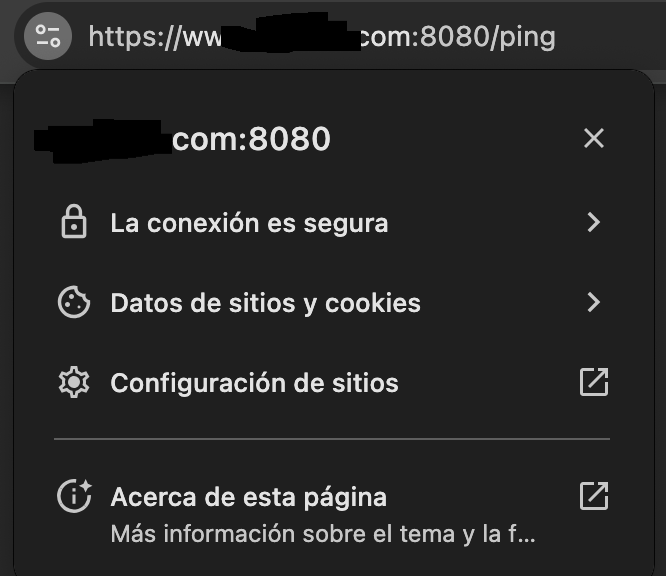


What happens if you access via http instead of https?

the diagram of your sites will look like this:
localhost or private ip -> public ip -> dyn ddns -> personalizated domain dnsYou have to get a custom domain dns and the ssl certificate for that domain.
In Donweb you can get an SSL certificate, it is provided by Sectigo and is called Sectigo Positive.
You must install the SSL certificate in the Java application.
You need to create a keystore, you need to gather the certificate and private key in a p12 file.
You must delete the private key created by default and import the generated p12 to the keystore.
Then in application.properties you must read the keystore, you must provide its password and the alias you want to read.
in dyn dns you must configure a dns standard.
You create that in zone level services.
Basically it is to have a custom DNS domain pointing to the public IP

Then you need to configure the DNS servers to point to dyn.
You don’t do that in dyn, but where you have the custom dns, in my case donweb.
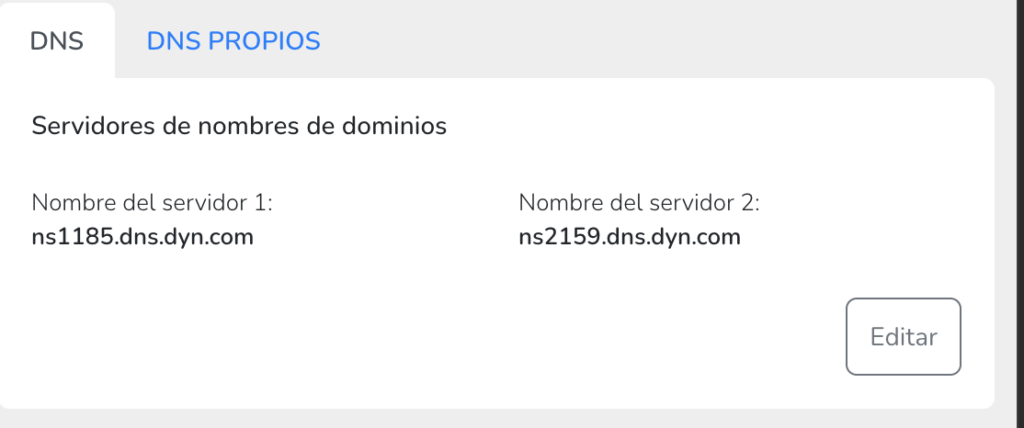
Actually, I think that configuring your own DNS is enough.
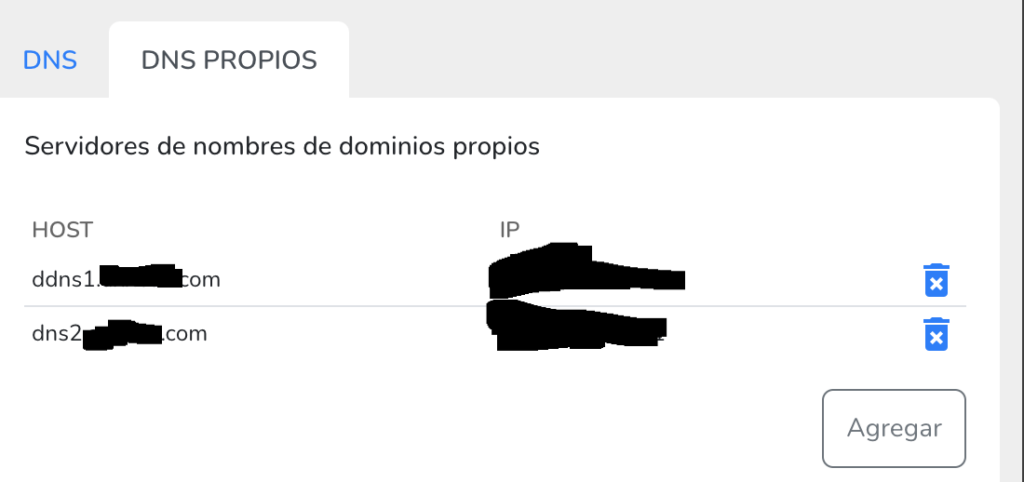
You must enter the 2 dyn name servers, that is, the 2 name servers of the ddns.
wait a few minutes and you will be able to access your custom domain dns via https and point it to your java application running locally
That’s all, I don’t like free stuff, it almost always works badly and you don’t have support.