In short, Micrometer lives within your Java Spring Boot application; the metrics are real-time, and if the application restarts, everything is erased. Prometheus is a separate application that reads and stores the metrics provided by Micrometer. Grafana is a frontend that displays the metrics from Prometheus.
In my case, I have a server (with Linux Ubuntu Server) and I access it remotely; there I run Micrometer, Prometheus, Grafana, and the Java Spring Boot Gradle app.
For Micrometer and Prometheus you don’t need remote access (it works automatically, internally), but for the Grafana website you do need remote access (SSH tunnel).
An SSH tunnel is used to access server configurations on your own PC. This is useful when you need to use a visual web browser on the server and don’t have a graphical interface (only a console).
You open a web page on your local PC using localhost:port and view it on your local PC, but the page (the web system, the backend) is running on the server; that’s what an SSH tunnel is for.
I have macOS (Mac) and I can update the OS to a certain version, but since it’s not the latest, I can’t install Docker.
I have to install and test Docker on the server that has Linux Ubuntu Server.
and manage the server remotely (via SSH) from macOS (my Mac)
Prometheus works without Micrometer?
Yes, absolutely.
Without Micrometer: You would have to manually write the code for your app to expose data in the format Prometheus understands (using #HELP and #TYPE). Micrometer saves you that work and automates it.
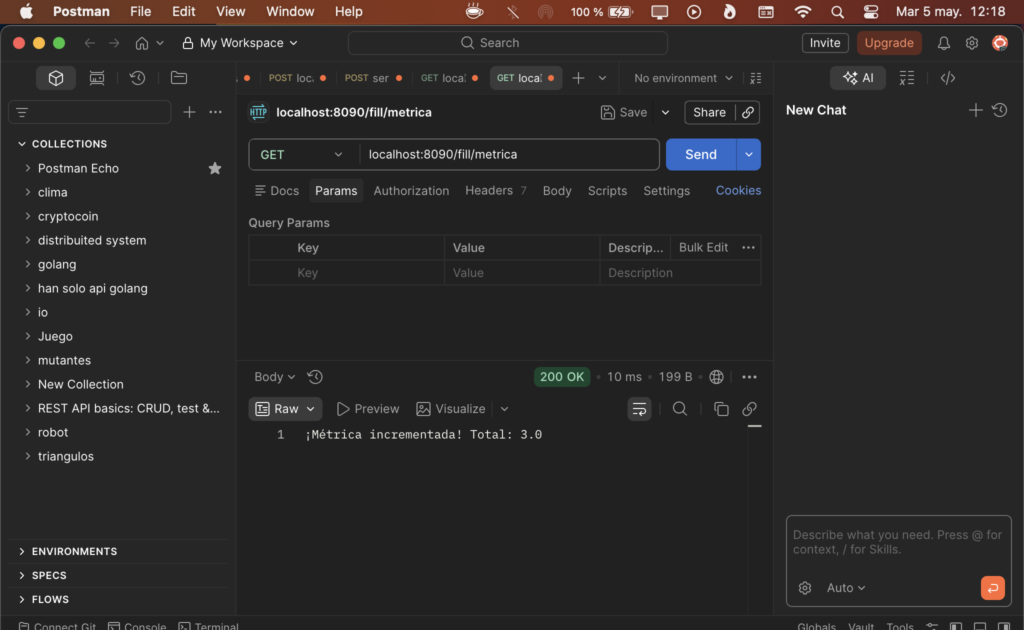
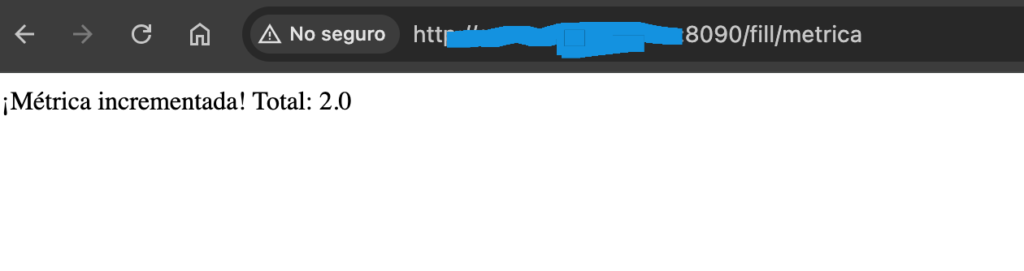
example in postman:
the data not persist, only in memory, if the application is restarted the metrics are values 0:
dependencies in build.gradle:
dependencies {
    implementation 'org.springframework.boot:spring-boot-starter-actuator'
    implementation 'io.micrometer:micrometer-registry-prometheus'
    implementation 'org.springframework.boot:spring-boot-starter-aop' // Opcional: para usar @Timed
}
application.properties
You must expose the endpoint where Prometheus will read the data:
management.endpoints.web.exposure.include=health,info,prometheus
management.metrics.tags.application=mi-app-java
record metrics
Use the @Timed annotation or inject MeterRegistry for more complex metrics.
registry is a bean:
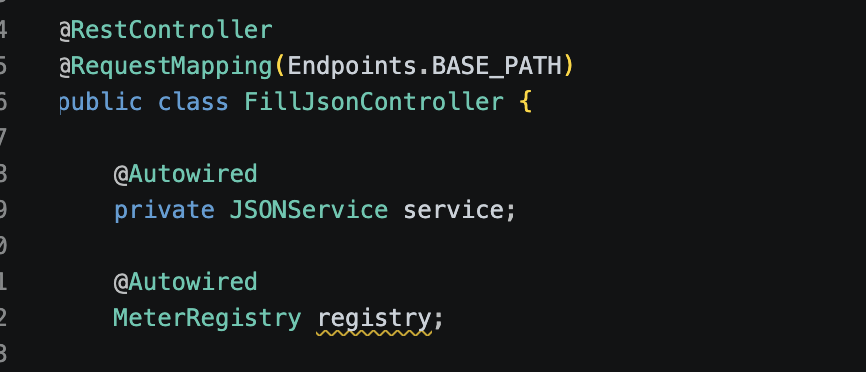
MeterRegistry (Recommended for flexibility)
This option allows you to create manual Counters, Gauges, or Timers.
import io.micrometer.core.instrument.Counter;
import io.micrometer.core.instrument.MeterRegistry;
import org.springframework.stereotype.Service;
@Service
public class MiServicioNegocio {
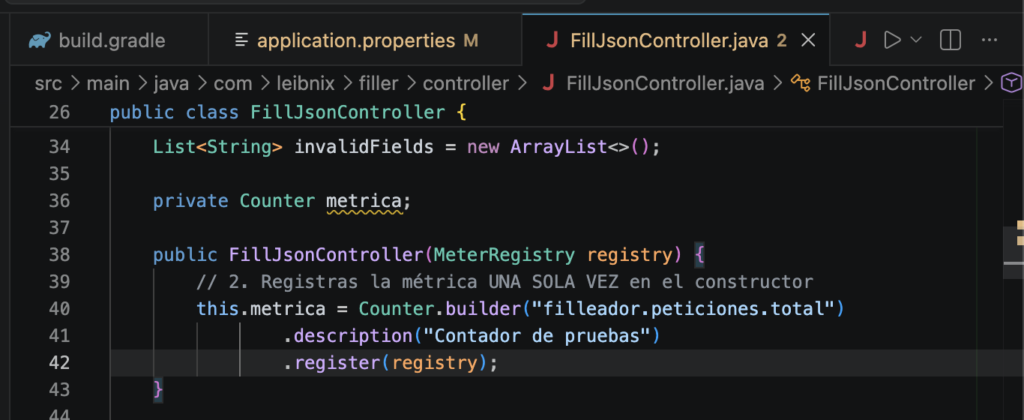
private final Counter metrica;
public MiServicioNegocio(MeterRegistry registry) {
// Creamos un contador con etiquetas (tags) para filtrar en Grafana
this.metrica = Counter.builder("metric.test.total")
.description("brieg description of metric")
.tag("priority", "high")
.register(registry);
}
public void procesarPedido() {
// Lógica de negocio...
// Incrementamos la métrica
metrica.increment();
}
}priority and high are tags (beware with the cardinality, cant be infinite)
Do not overuse “Tags” with values that change infinitely (such as user IDs), as this creates a cardinality problem that can crash your Prometheus server.
metric in java class:
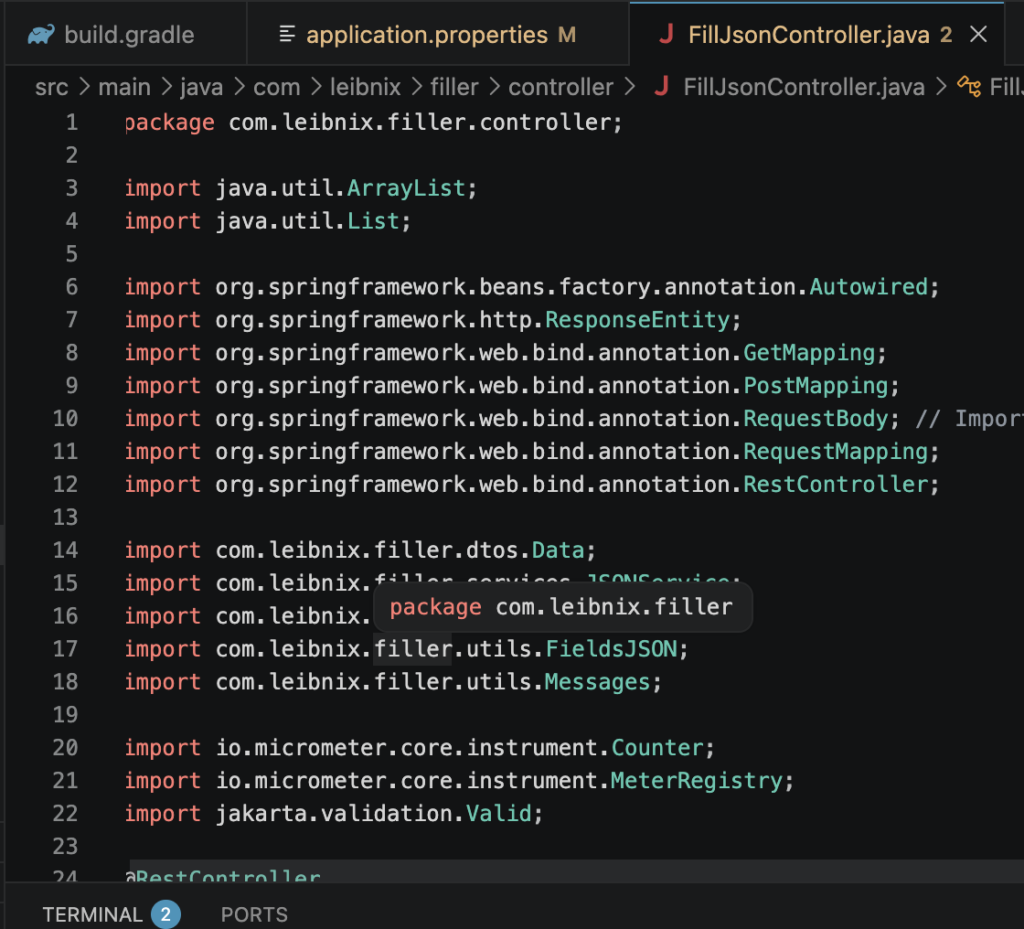
imports:
start app:
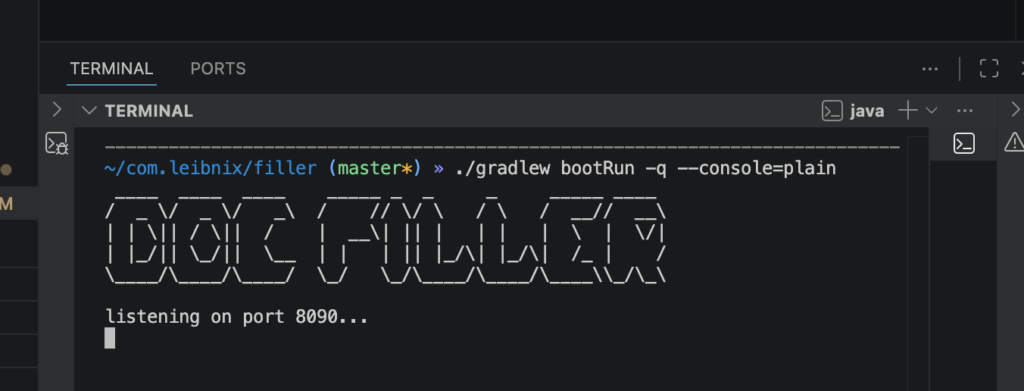
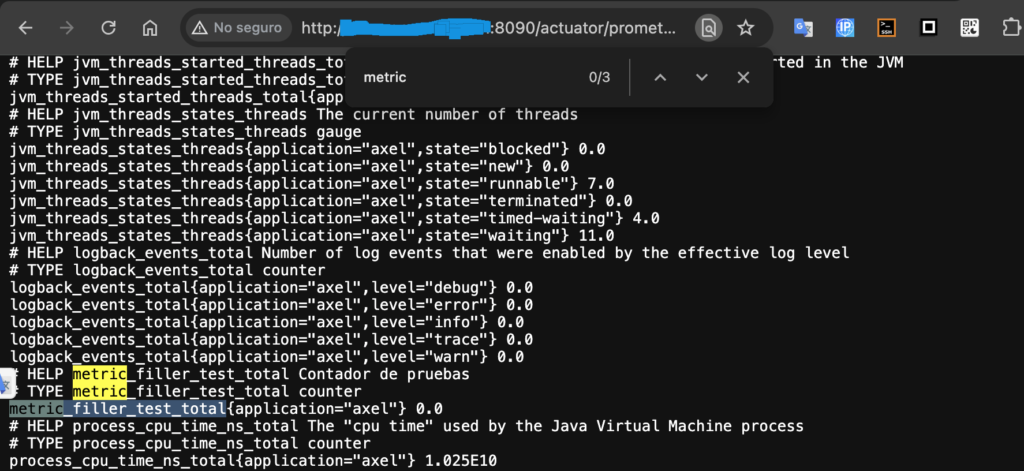
endpoint prometheus actuator:
acces in endpoint:
/actuator/prometheusGET

Seeing that text in your browser means the instrumentation (Micrometer) is working perfectly. Your application is already broadcasting its statistics to the world.
What you see is the data display.
Prometheus (The Warehouse): It’s not really “working” until you install the Prometheus server and tell it to read that URL.
Its function: To access your localhost:8090/actuator/prometheus every X seconds and save those numbers in a historical database. If you don’t do this, you only have the current value, but you won’t be able to see a graph of what happened 10 minutes ago.
You must run it (via Docker or executable) and configure the prometheus.yml file pointing to your IP/port.
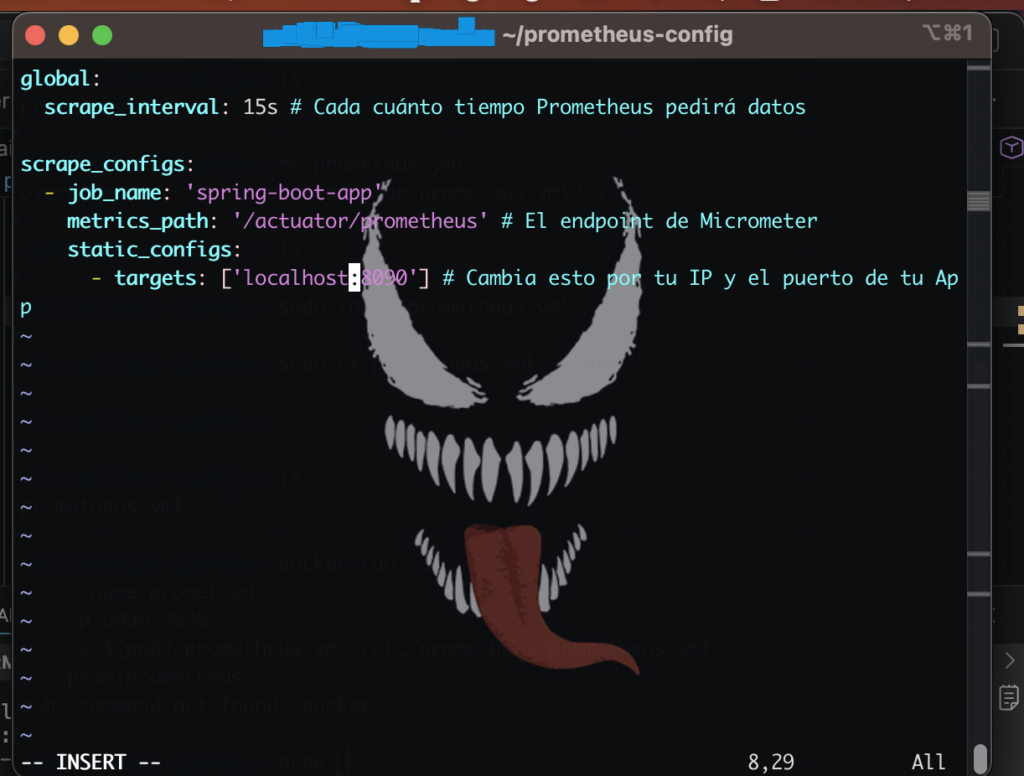
In a folder of your choice, create a file called prometheus.yml and paste the following content:
global:
  scrape_interval: 15s # Cada cuánto tiempo Prometheus pedirá datos

scrape_configs:
  - job_name: 'spring-boot-app'
    metrics_path: '/actuator/prometheus' # El endpoint de Micrometer
    static_configs:
      - targets: ['host.docker.internal:8090'] # Cambia esto por tu IP y el puerto de tu App
remember change the port in targets and use host.docker.internal (is for use localhost of same OS and not of the localhost from container)
http://host.docker.internal:9090 (if you used the –add-host flag) or directly the private IP address of your Ubuntu server (the one for enp2s0)
not use localhost:9090 here because Grafana would look for Prometheus within its own container
Launch the container:
Run the following command in your terminal (while in the folder where you created the file):
docker run -d \
    --name prometheus \
    -p 9090:9090 \
    --add-host=host.docker.internal:host-gateway \
    -v $(pwd)/prometheus.yml:/etc/prometheus/prometheus.yml \
    prom/prometheus
If in your prometheus.yml you put targets: ['localhost:8090'], the container will fail because it will look for port 8090 inside Docker.
Use targets: ['host.docker.internal:8090'] (this only works if you added the --add-host flag that I put above).
By using host.docker.internal, you are telling it: “Leave the Docker box and look on port 8090 of the host operating system”
Target IP: If you’re running Prometheus in Docker and your application runs on the “host” (your PC), don’t use localhost in your .yml file, because the container will interpret it as referring to itself. Use your private IP address (e.g., 192.168.1.15) or the special address host.docker.internal
The other option is to run it via executable (.exe or binary), but Docker is cleaner and more efficient; it hasn’t caused me any problems:
Go to the official Prometheus website and download the version that corresponds to your operating system.
On Linux, run:
./prometheus --config.file=prometheus.ymlFlow
- Spring Boot: Exposes metrics in /actuator/prometheus.
- Prometheus: Must be configured (in your prometheus.yml) to scrape (extract data) from your application every X seconds.
- Grafana: Connect Prometheus as a data source and create dashboards using PromQL.
Spring Boot: Exposes the data at http://localhost:8080/actuator/prometheus.
prometheus.yml: Tells Prometheus: “Hey, go to that address every 15 seconds.”
Grafana: Connects to Prometheus (usually on port 9090) to read and draw this data.
micrometer: own java app (plain text, access by a endpoint GET)
prometheus (is a web on 9090) (read metrics that given micrometer)
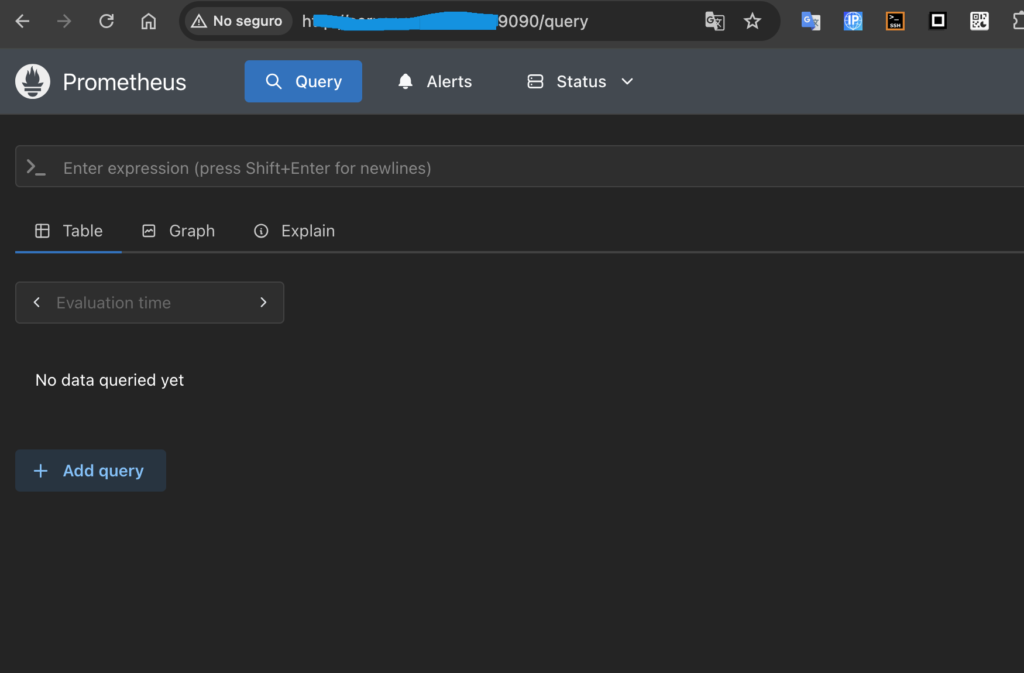
enter at the endpoint:
:9090/targets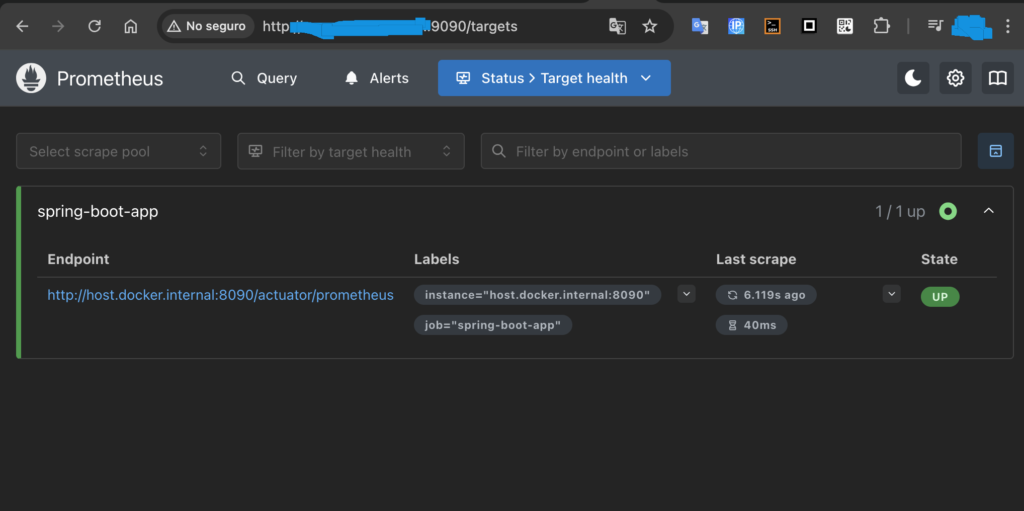
the url must be
'host.docker.internal'y State
UP- Micrometer: This is the sensor (it generates the data in your app)
- Prometheus: This is the database and data collector (it retrieves the data and stores it over time)
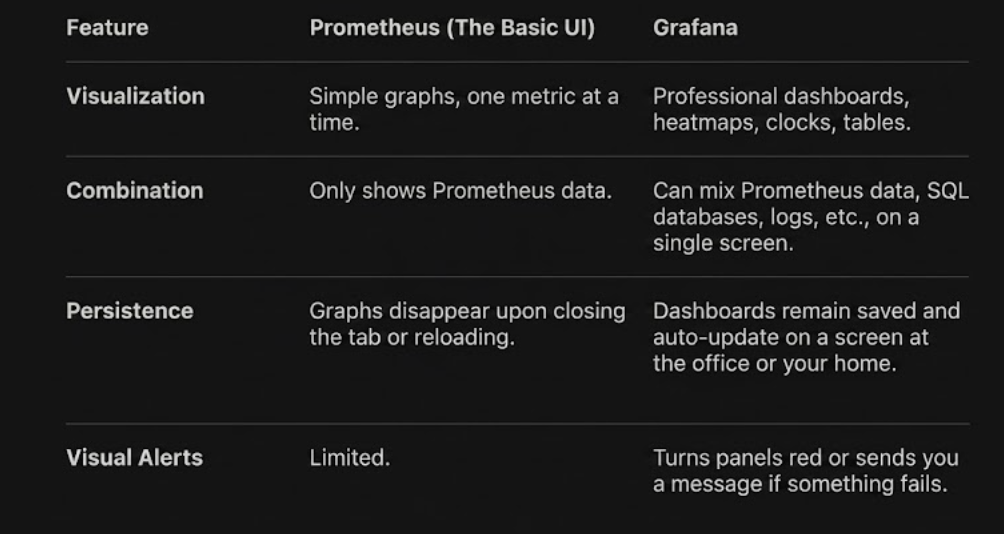
- Grafana: This is the display (it takes the data from Prometheus and presents it visually so you can understand what’s happening at a glance)
If you just want to see if a counter goes up or down while testing, Prometheus is sufficient. If you want a control panel to monitor the long-term health of your Linux servers or your “Leibnix” project, Grafana is the industry standard
prometheus config
in targets:
host.docker.internal:8090not
localhost:8090the problem is that ‘localhost’ search in his own container
what to do if the container yet is run:
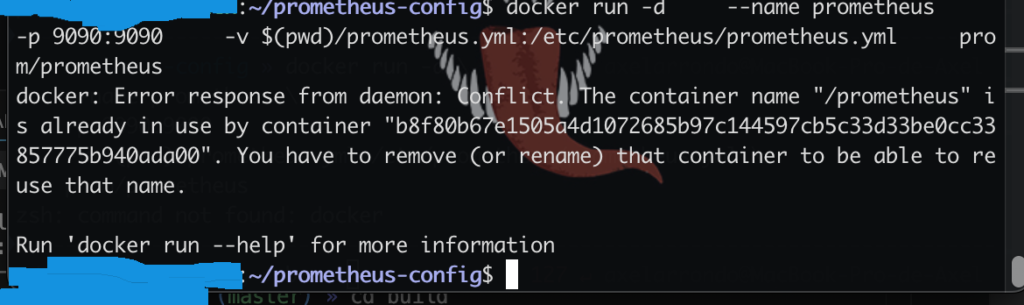
A container named Prometheus already exists (even if it’s turned off or has failed). Docker does not allow two containers to have the same name.
To fix this and apply the changes to your prometheus.yml file, you need to delete the old one before running the new command.
Delete the old container:
docker rm -f prometheussearch the metric in prometheus
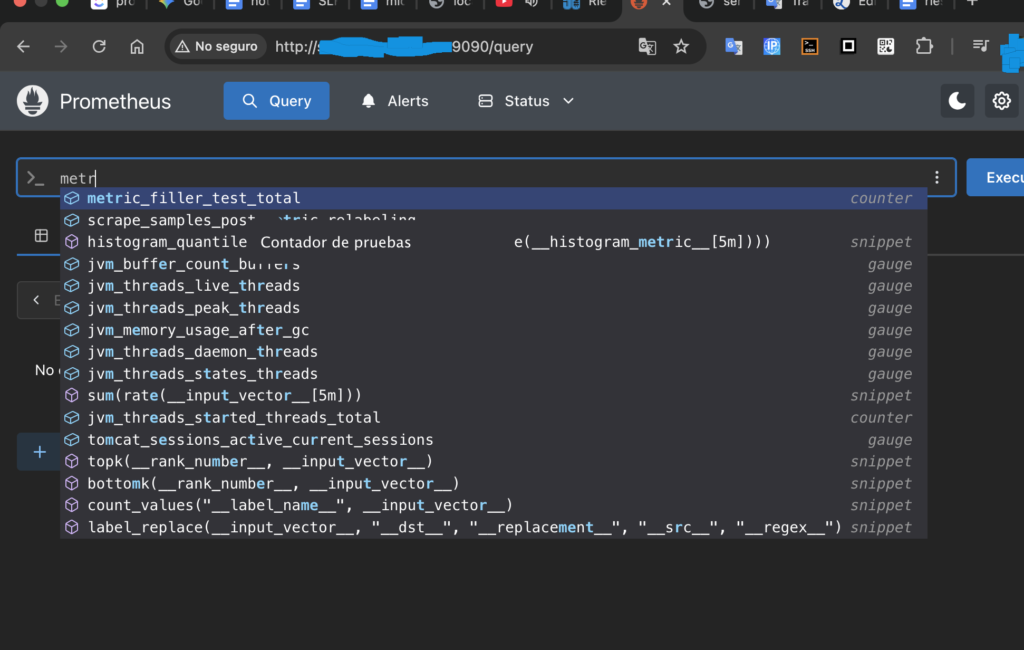
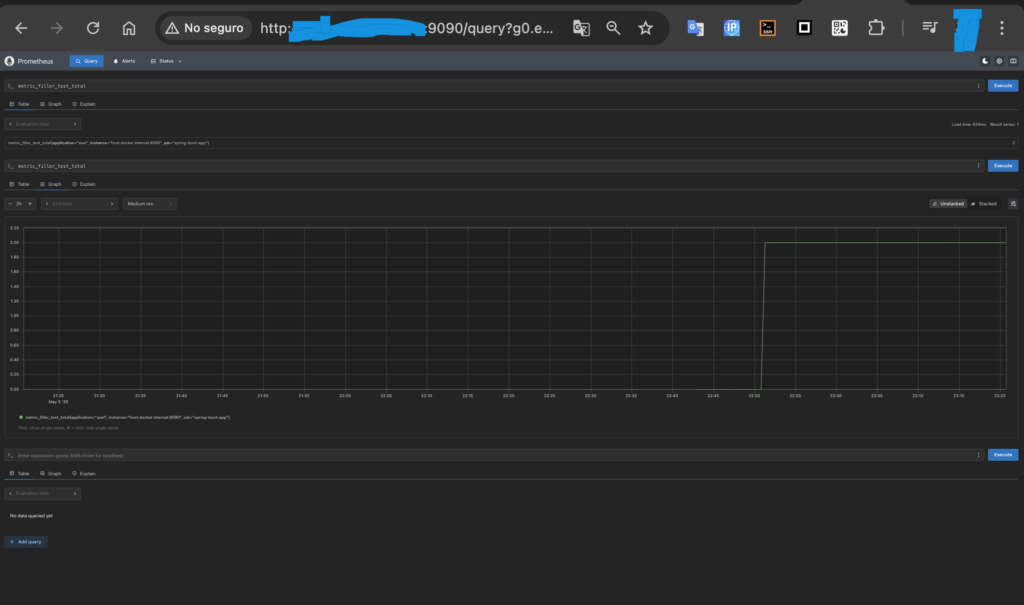
see if works

I puut a endpoint of test that increment metric:
graph in prometheus a metric:
grafana
- create a docker container: (in server)
docker run -d --name=grafana -p 3000:3000 grafana/grafana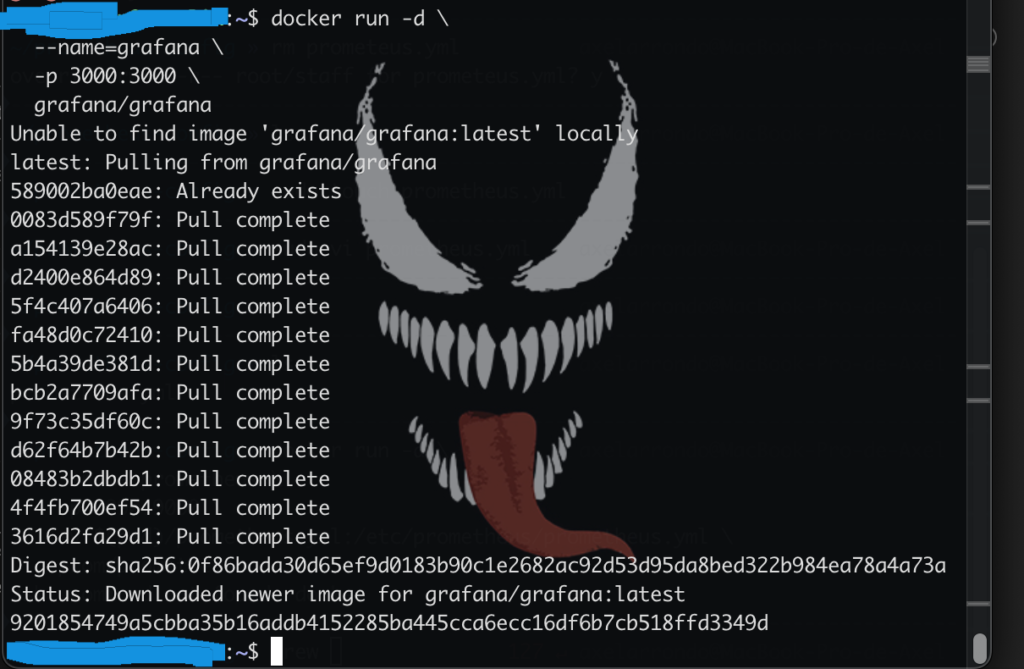
2- must be a ssh tunnel (from 8032 in localhost to localhost 3000 of the server)
localhost is a alias of ‘127.0.0.1’ (is the same at naming)
ssh -L 127.0.0.1:8032:127.0.0.1:3000 user@domain.com -p portin my case access to server for a specific port
example:

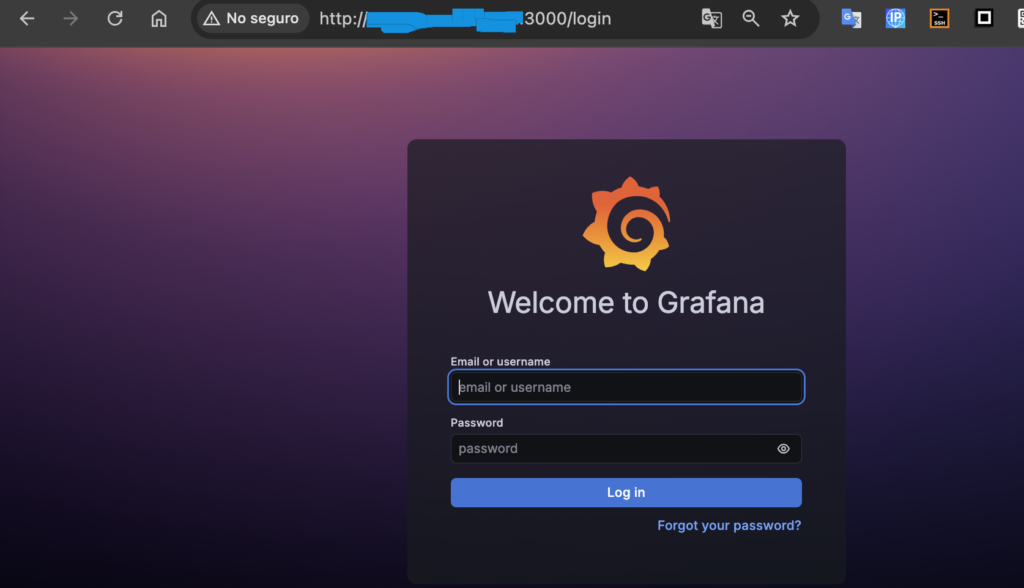
now, that has a ssh tunnel you can access to grafana (server) from localhost:8032 (locally, in your web browser):
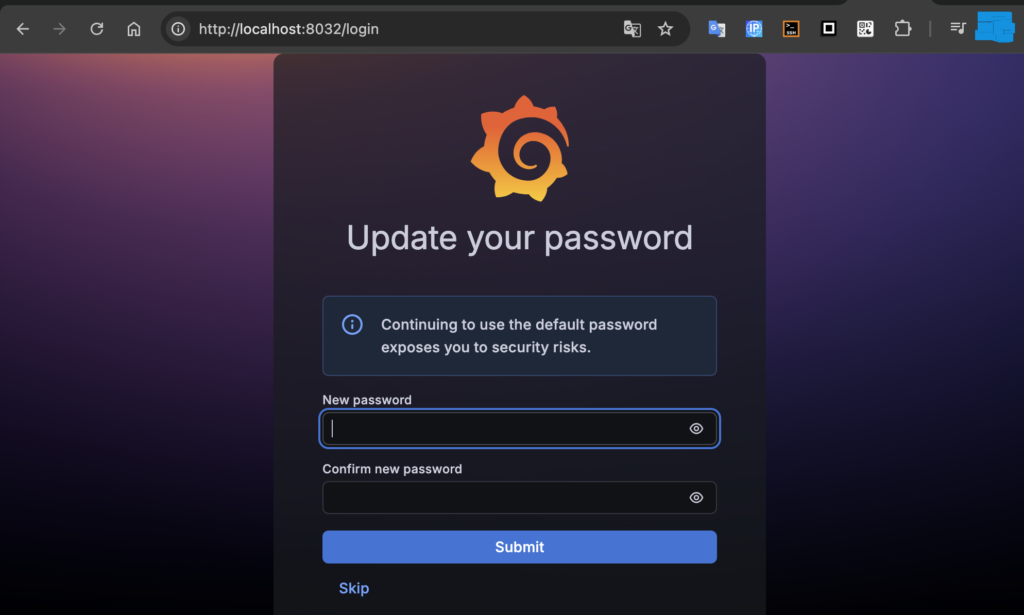
You can log in with the username ‘admin’ and password ‘admin’
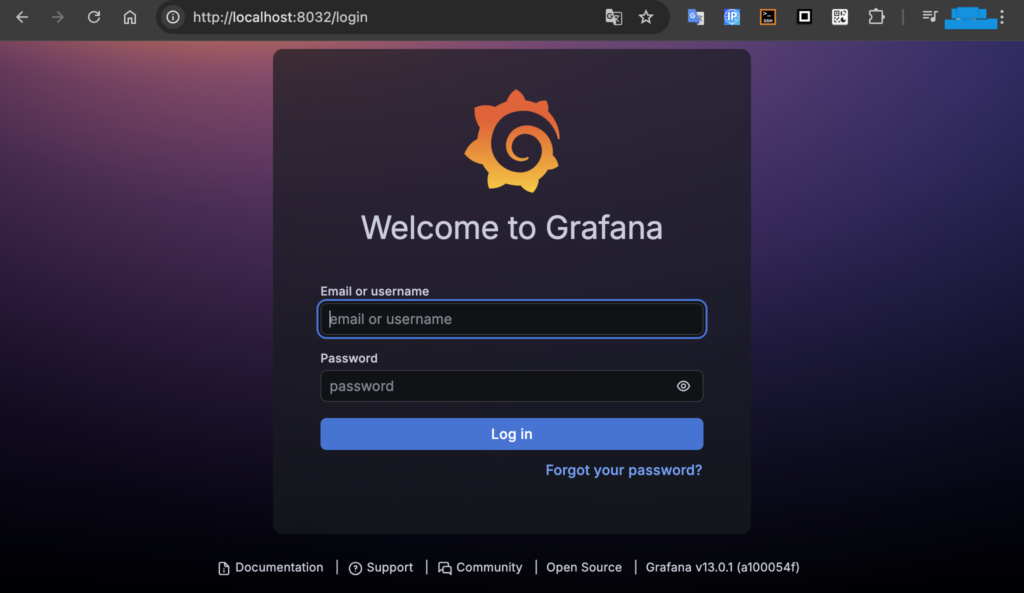
The first time you log in, you will be asked to choose and change the password ‘admin’:
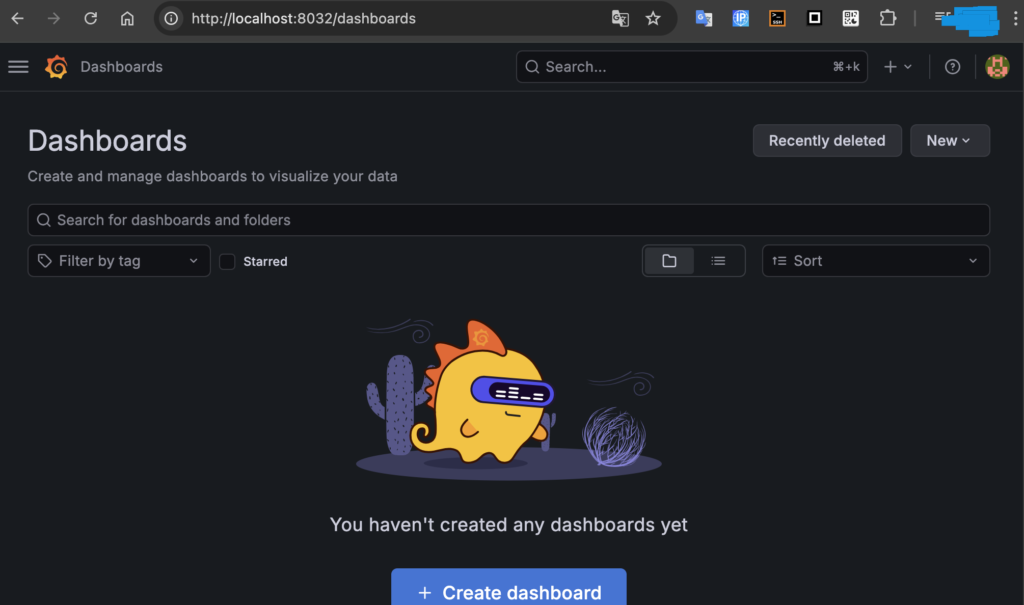
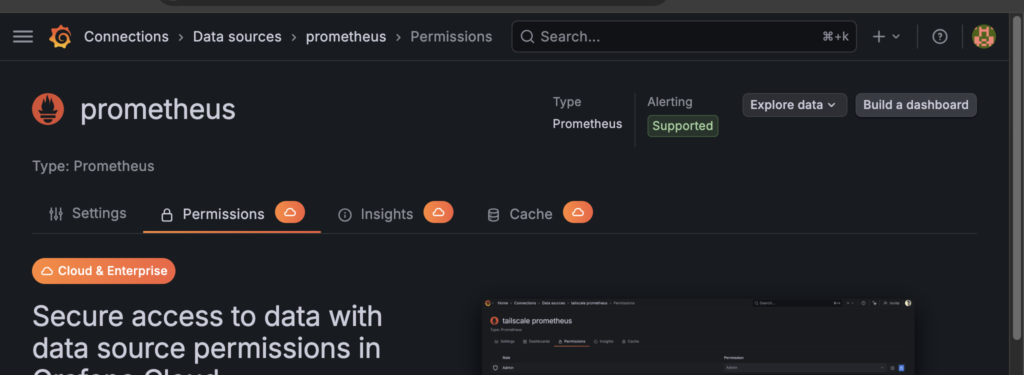
Once inside the Grafana website, in the dashboards section, you can see this:
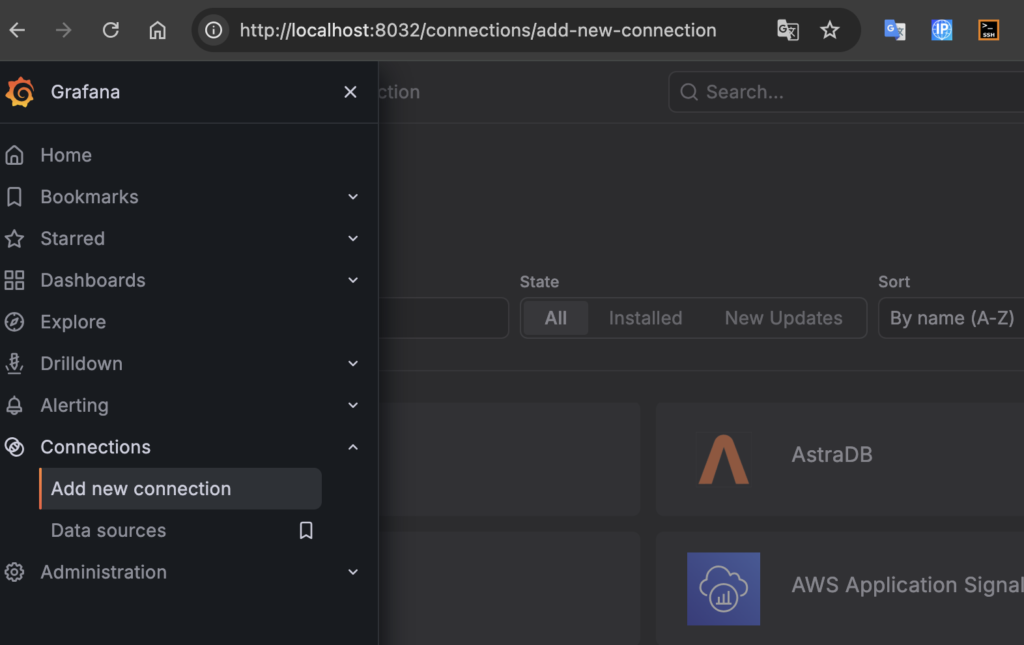
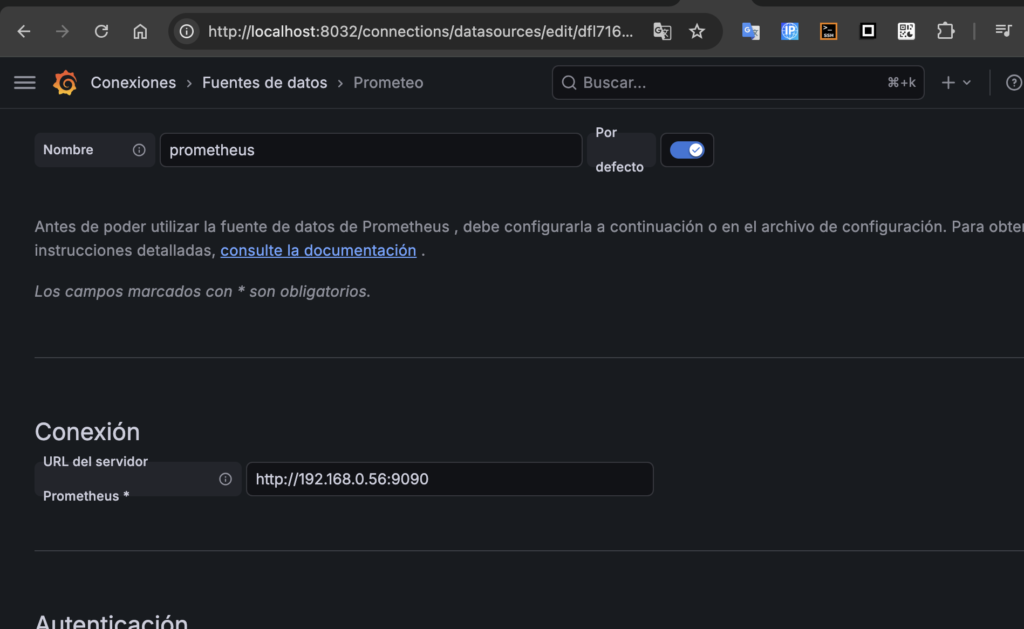
Go to the “add data source” section in connections:
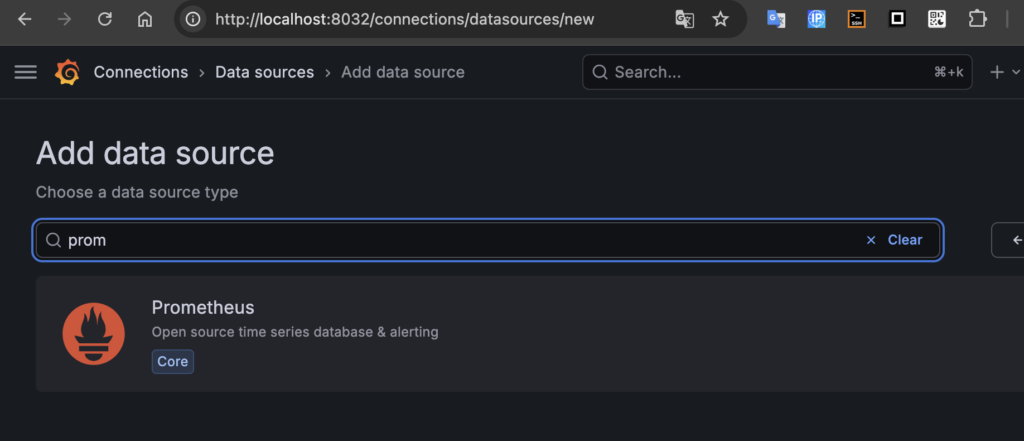
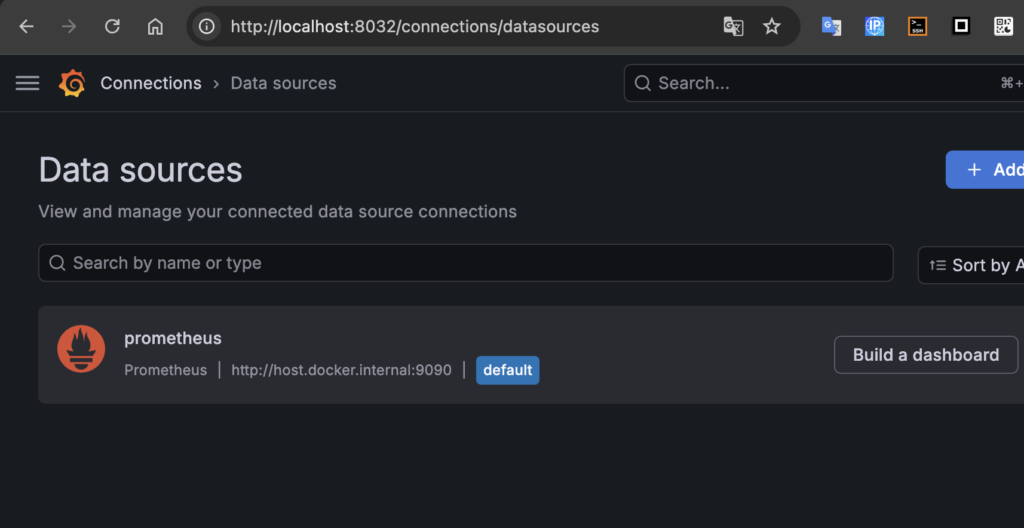
Add the local prometheus URL:
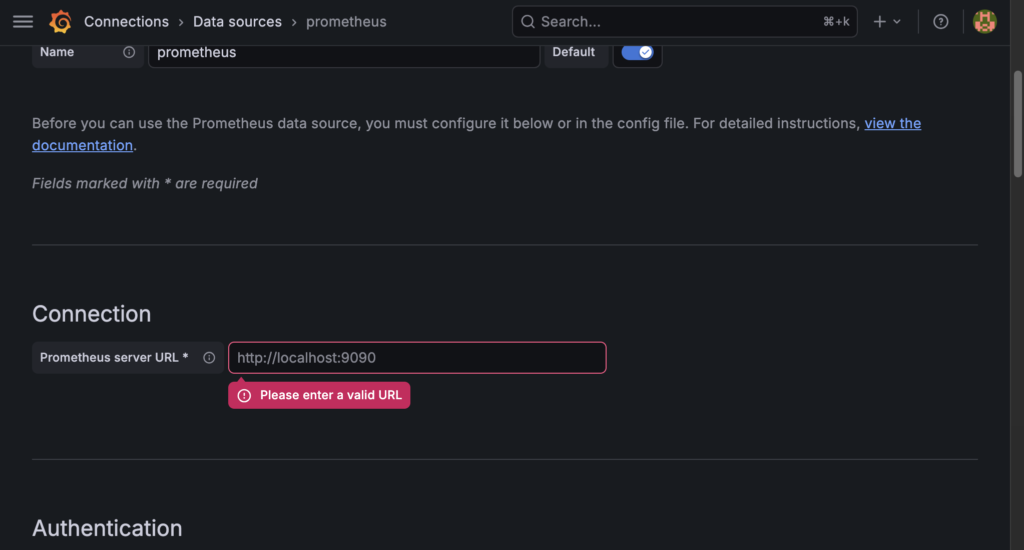
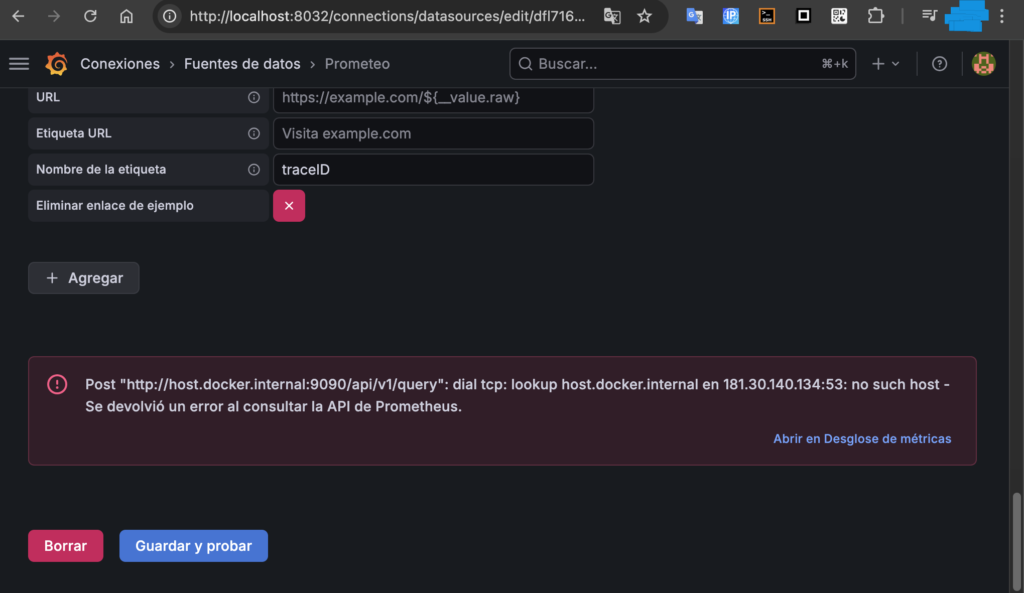
configure the URL of prometheus:
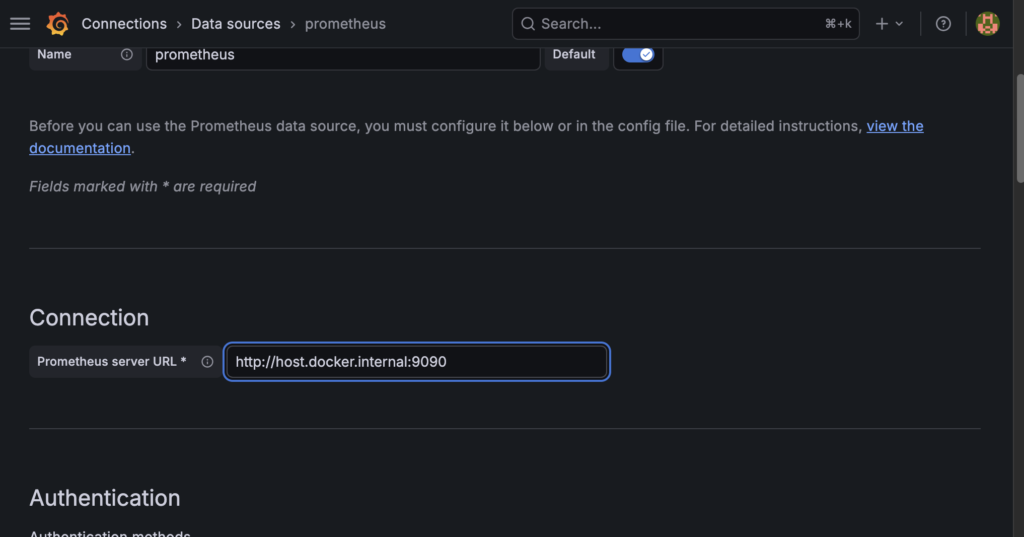
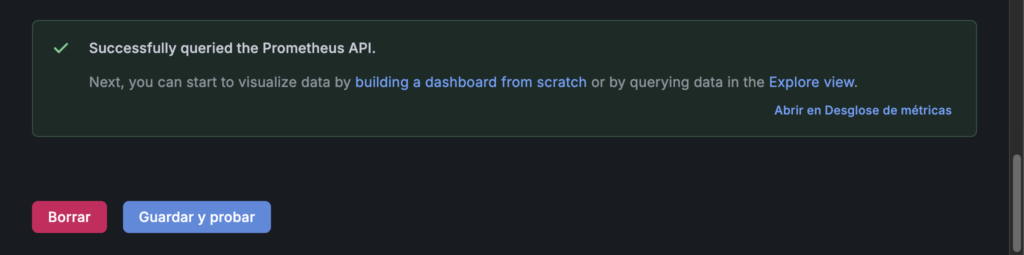
Scroll to the bottom and click Save & Test. A green checkmark should appear saying “Data source is working”
If it doesn’t work, try your IP version (using your private IP address):
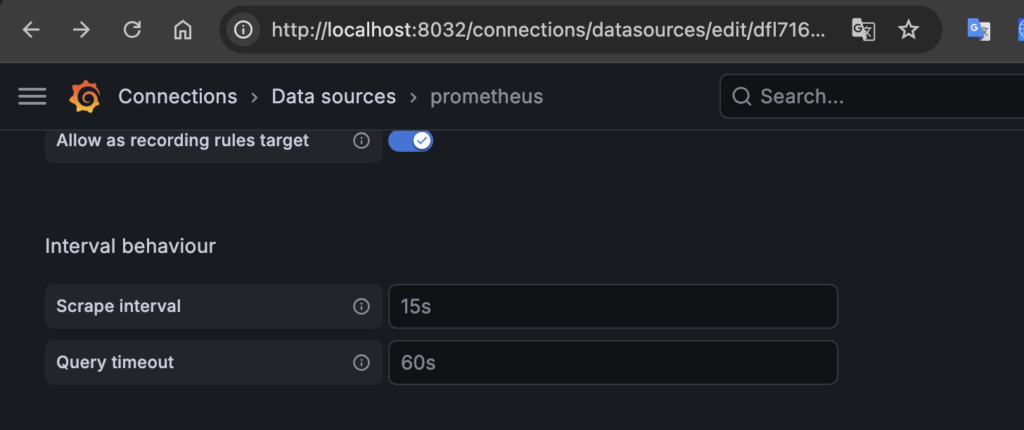
How often does Grafana update metrics with new data? You can configure this (scrape interval: 15 seconds):
as alternatelly, you can open the port 3000 in router (This way you avoid creating an SSH tunnel)
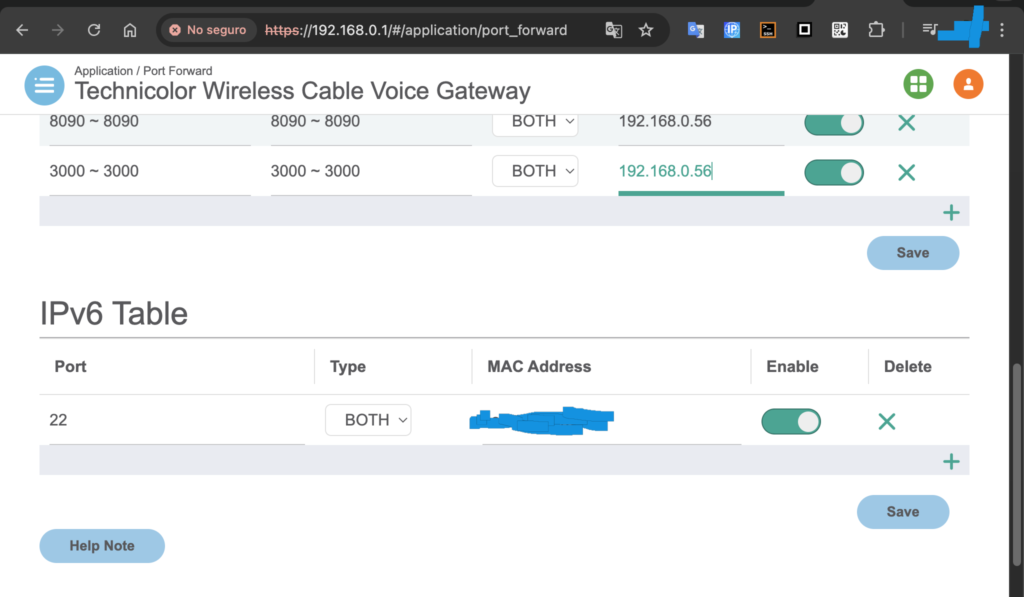
and access via the real IP address or URL:
If everything goes wrong, when you save, you’ll see something like this:
If everything goes well:
create a new dashboard:
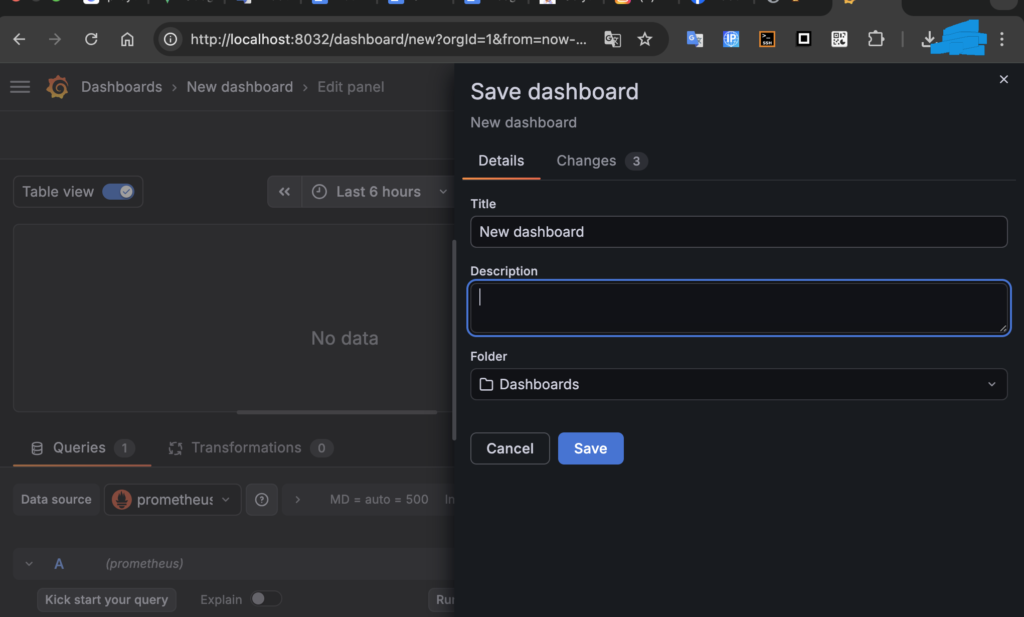
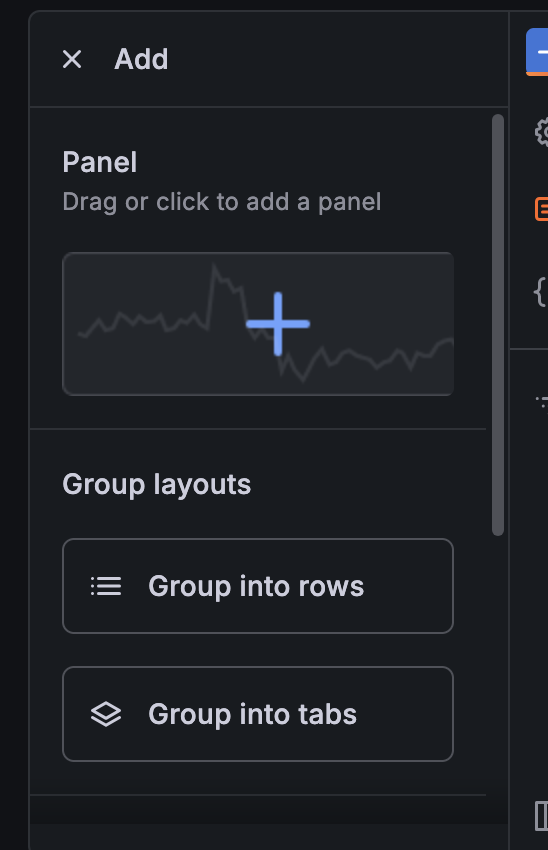
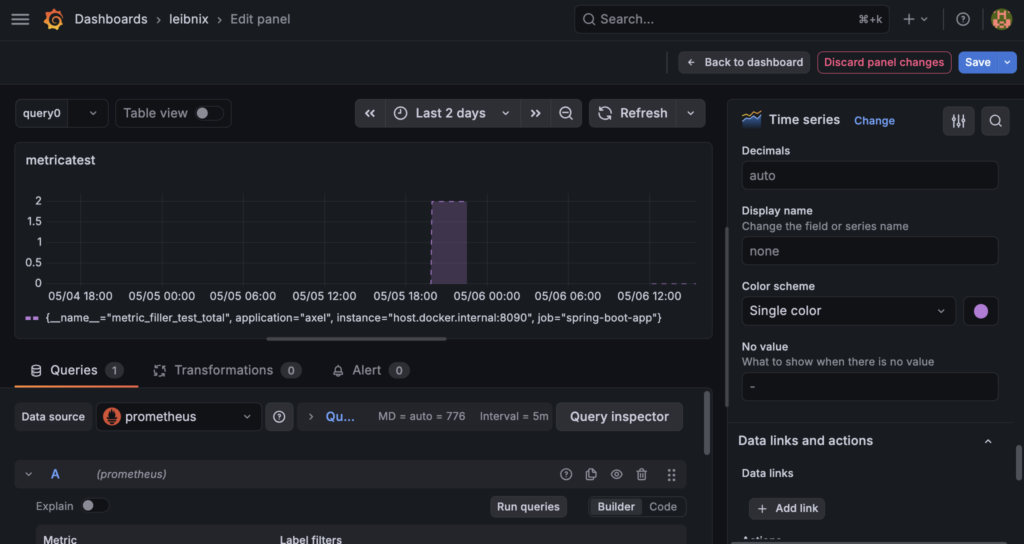
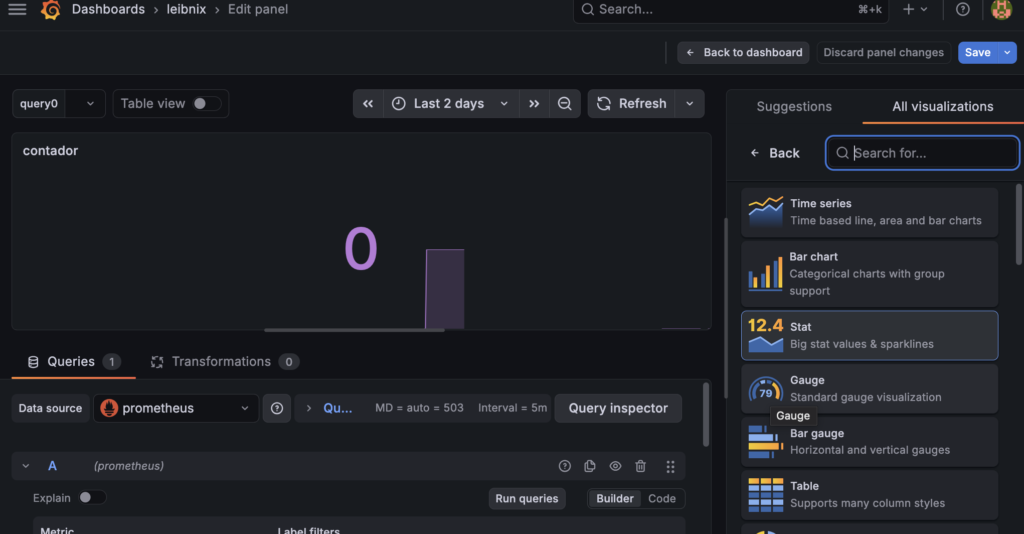
You can create a panel (it’s the visualizer of the metric, like a graph of whatever you want):
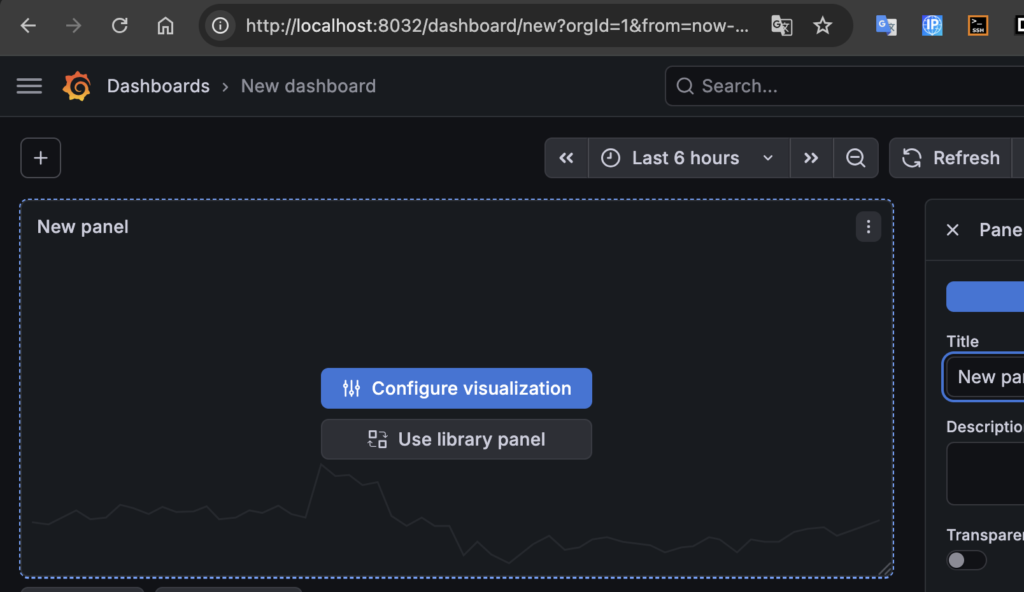
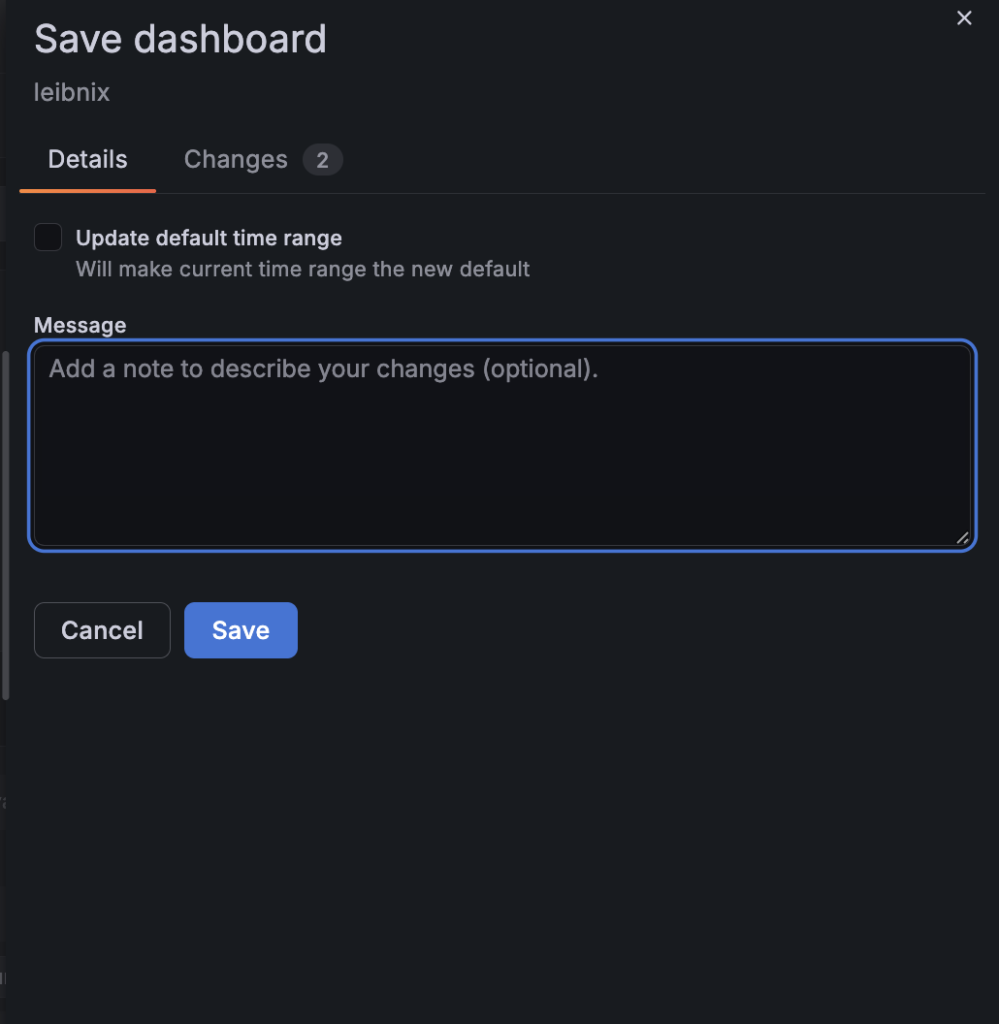
You can change the name of the dashboard and the panels it contains
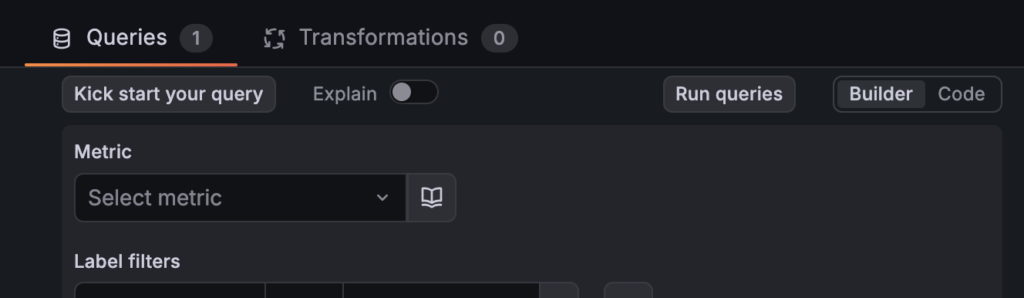
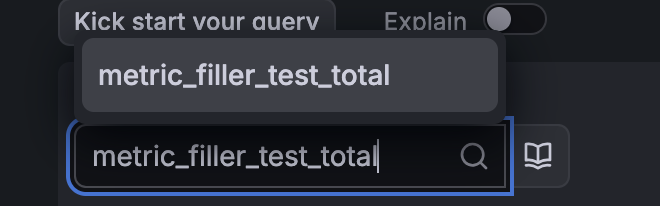
select your metric:
execute:

the graph will be showed:

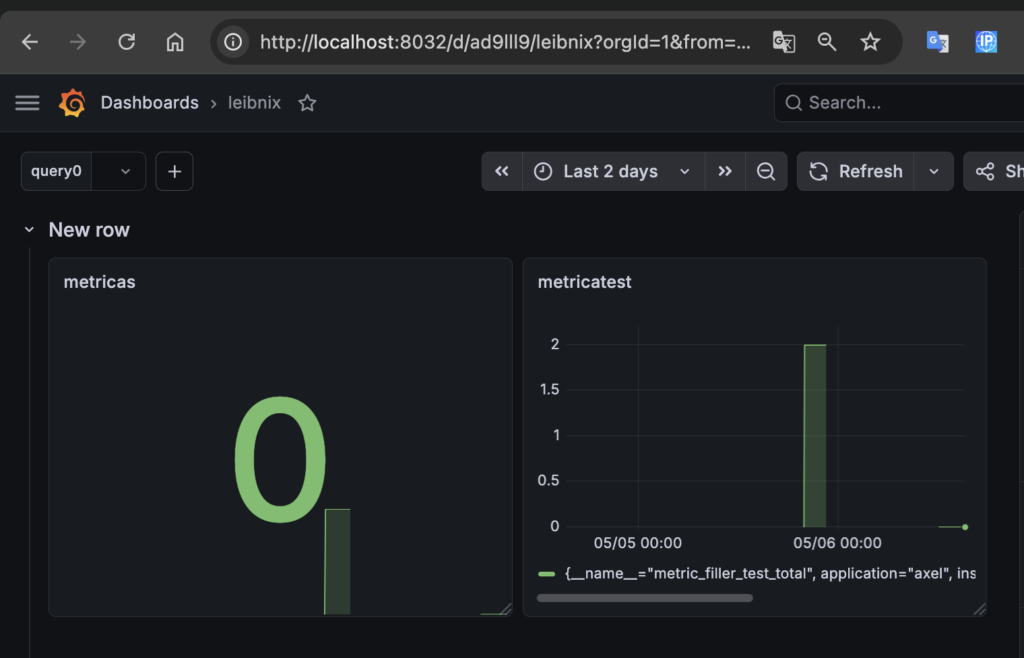
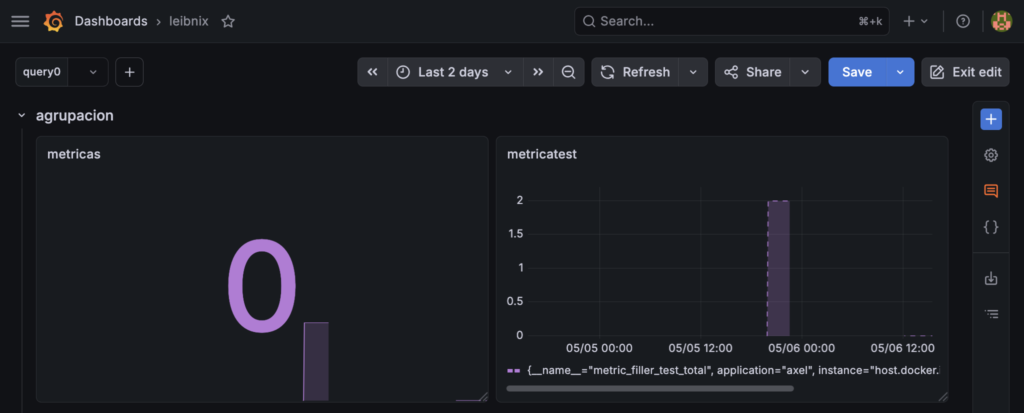
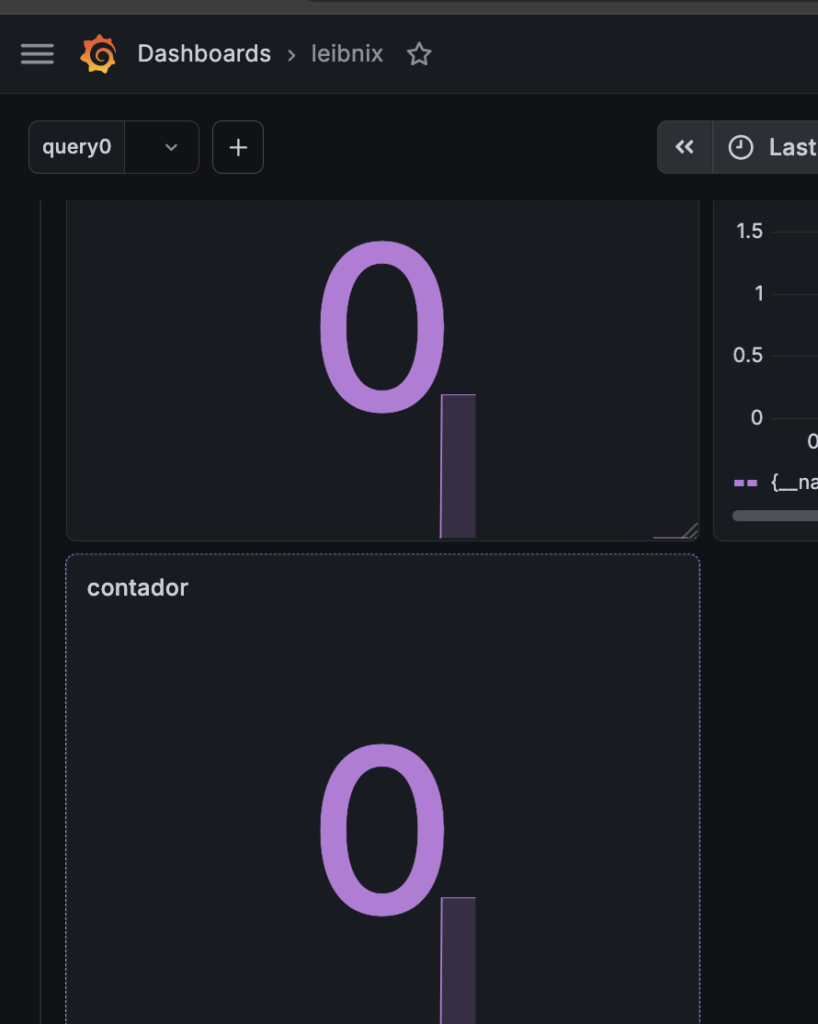
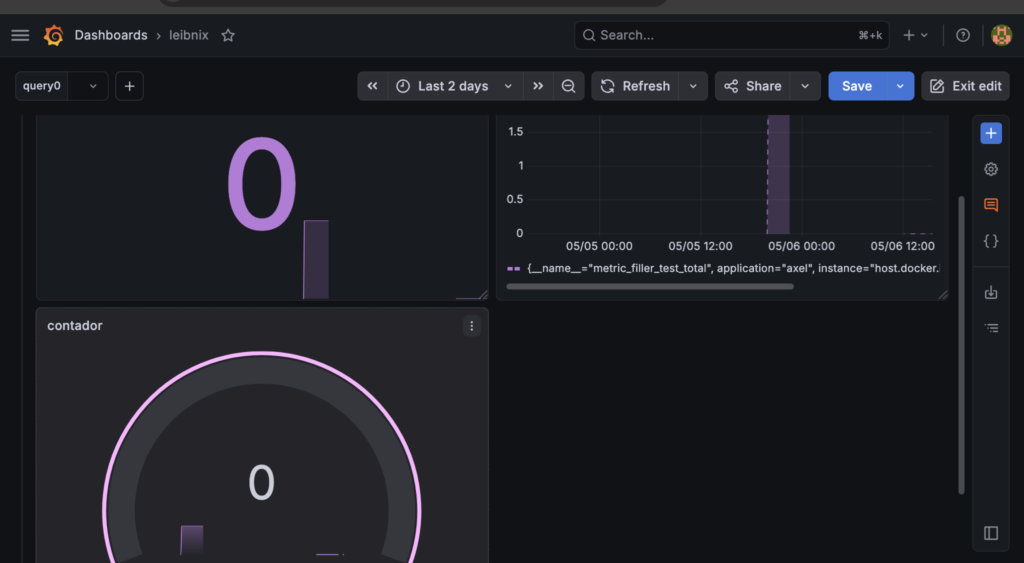
two panels in same dashboard:
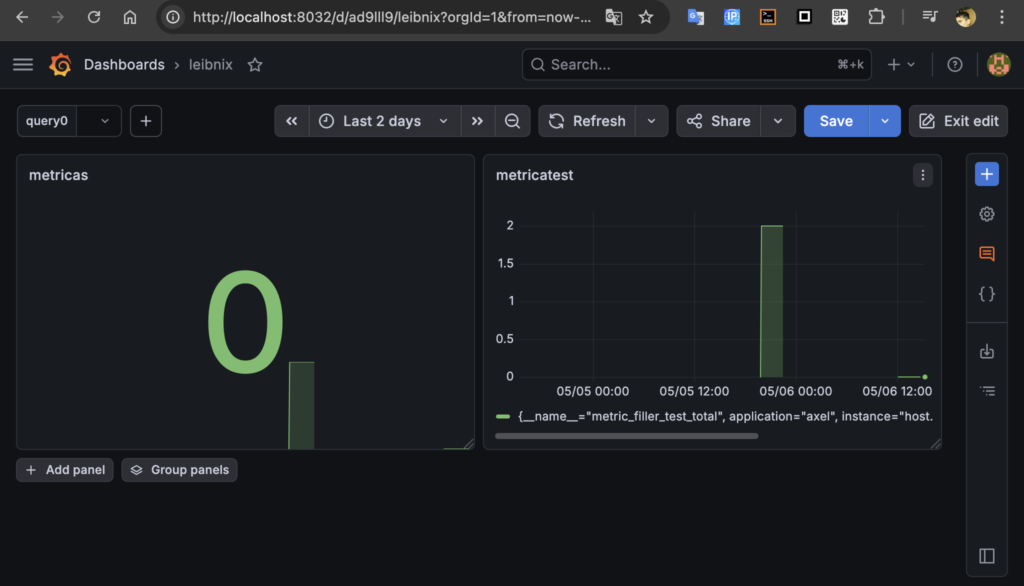
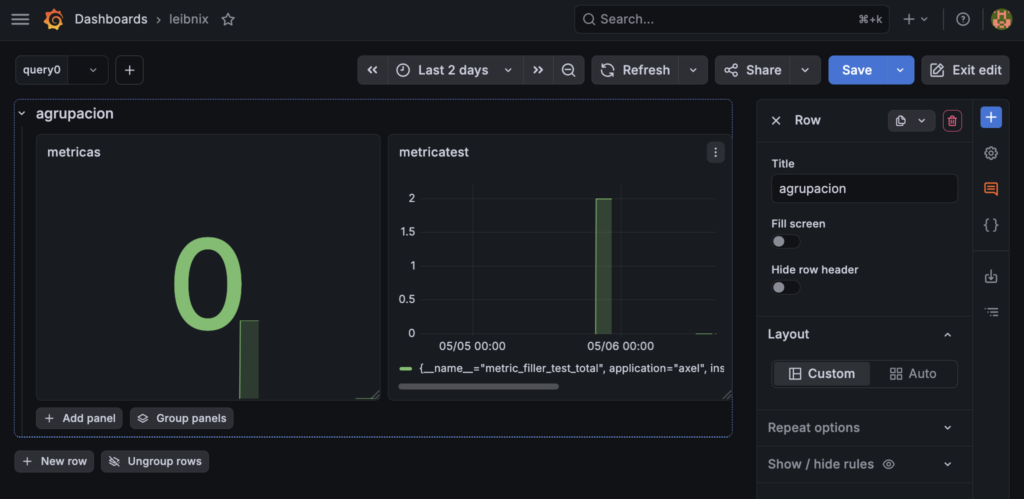
You can group panels in a row:
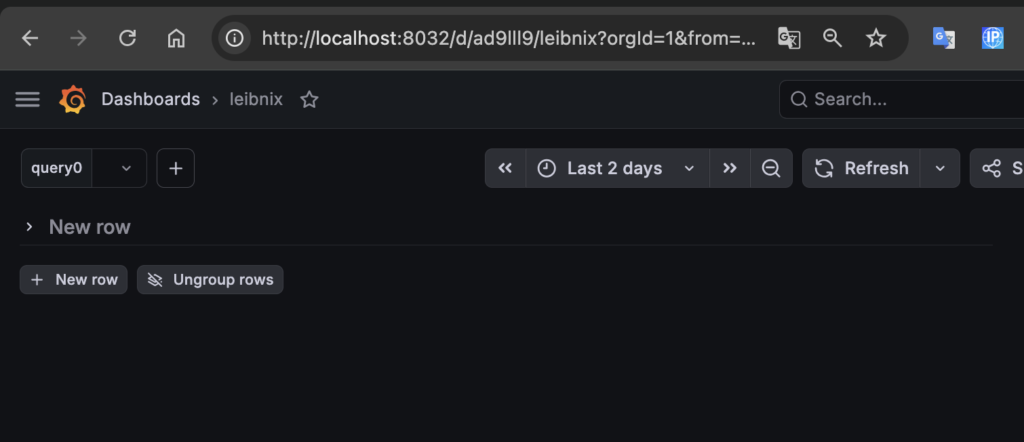
You can minimize the row:
You can change the row name:
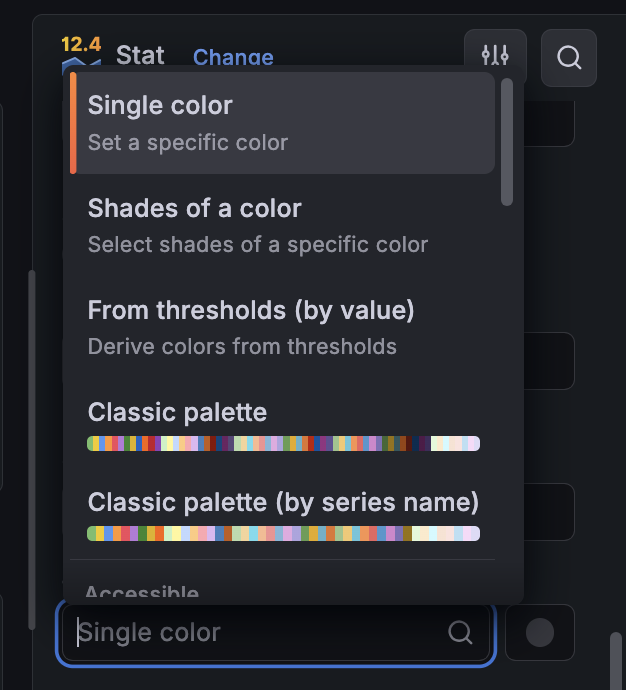
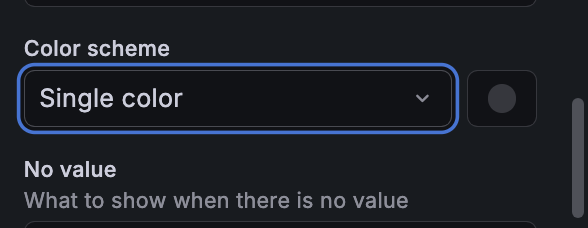
change the color with the option ‘single color’ and choose a color and click in save (by default time-series is displayed in green) and too can selected dotted, dash or solid line:
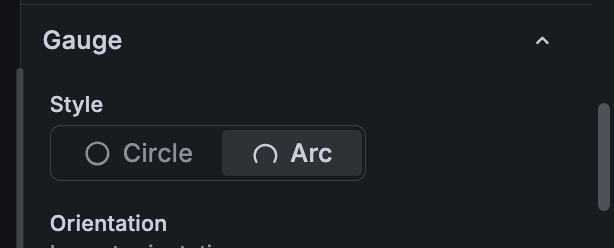
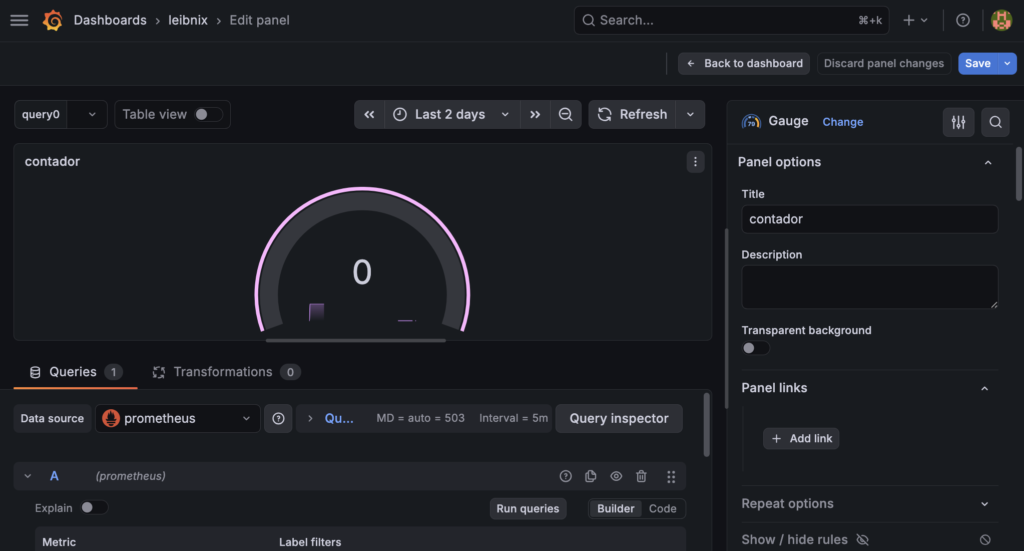
you can modificated the gauge too:
duplicate metric chart (i.e., panel)
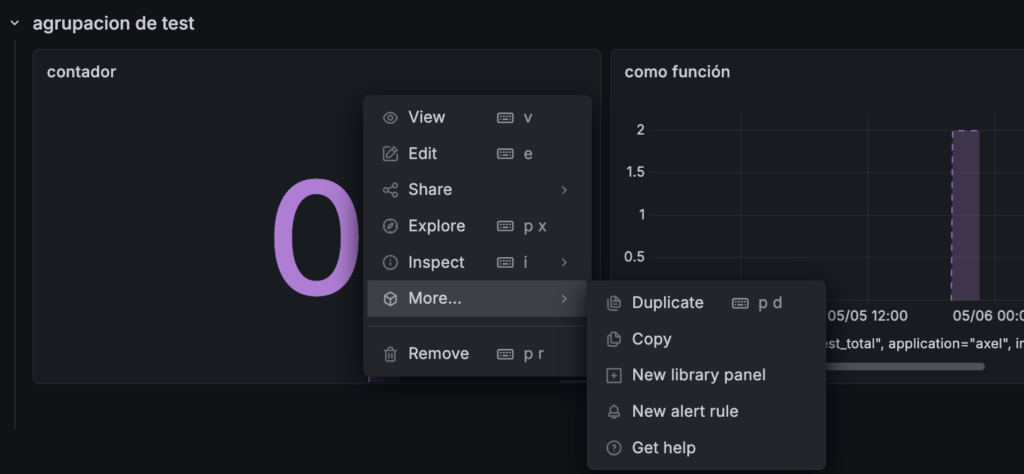
will be duplicated within the row:
With the same metric you can create different charts (panels):

concept cleansing
In the Grafana hierarchy:
Dashboard > Row > PanelThe Dashboard (The complete container)
It’s the entire “page”. It’s what you save with a unique name and what contains all the time logic (for example, viewing the last 24 hours)
The Row (The grouper)
The Row is a horizontal row that serves to give visual order
- Its function: It allows you to collapse or expand a group of charts
- Your example: You could have a row called “Test Metrics” where you place your four charts
The Panel (Each individual chart)
Each of the 4 charts you want to create is a Panel. Although they all use the same metric, you can configure them to display different things
- Stat: A large number displaying the current value (the latest cumulative total)
- Time Series: A historical line graph showing when activity occurred
- Gauge: A “speedometer” if you have a target or maximum limit (e.g., reaching 100 tests)
- Bar Gauge: Useful if you want to compare metrics across different instances or applications (using Prometheus tags)