My printer is an Epson XP-2101 Series.
This works for Epson XP-2101 series printers, I don’t know if the process is similar for other printers.
Here is the link to the official user manual (in spanish) :
https://download.epson-europe.com/pub/download/6334/epson633466eu.pdf
in english:
https://download.epson-europe.com/pub/download/6334/epson633412eu.pdf
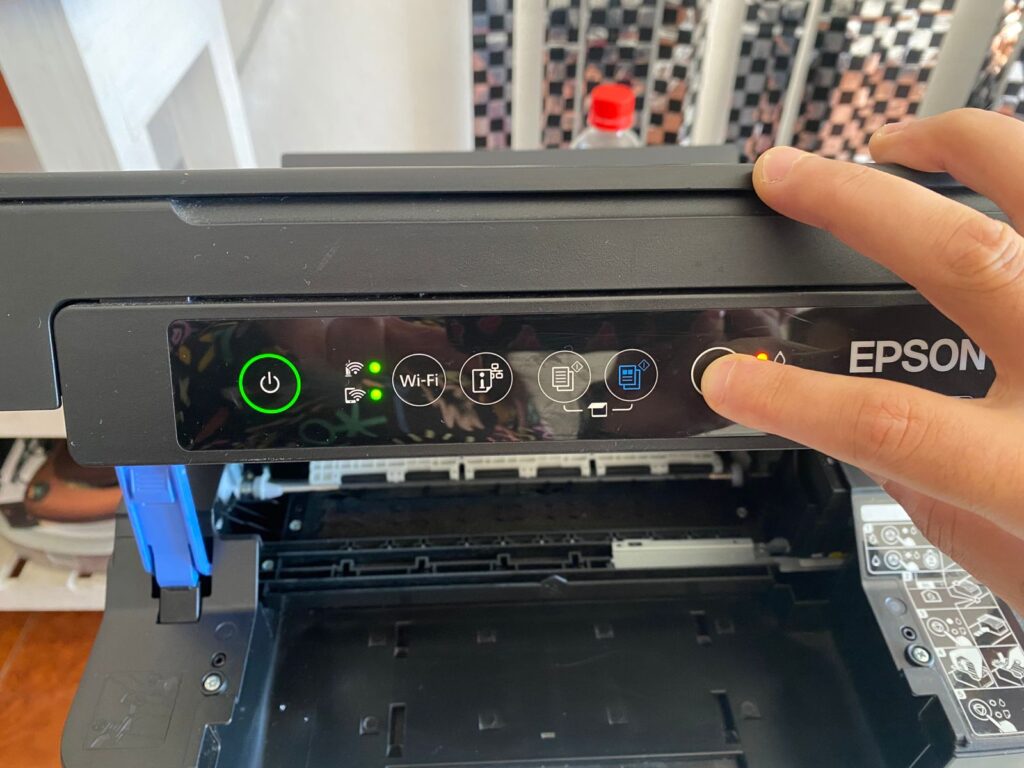
If the printer cartridge runs out of ink or is about to run out, an orange light will turn on with a symbol like a droplet.
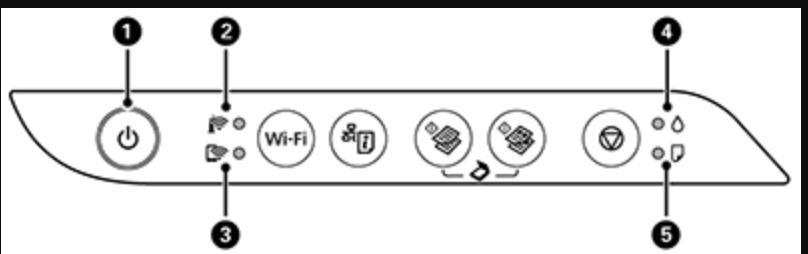
In the image it would be the light where the number 4 is.
the reload or cancel button is

There are 3 positions (or areas where the box containing the cartridges will be moved)
- initial/refill ink position or area
- Empty or nearly empty cartridge indicator position or area (It tells you which cartridges need to be replaced by touching the reload button once.)
- cartridge replacement position or area
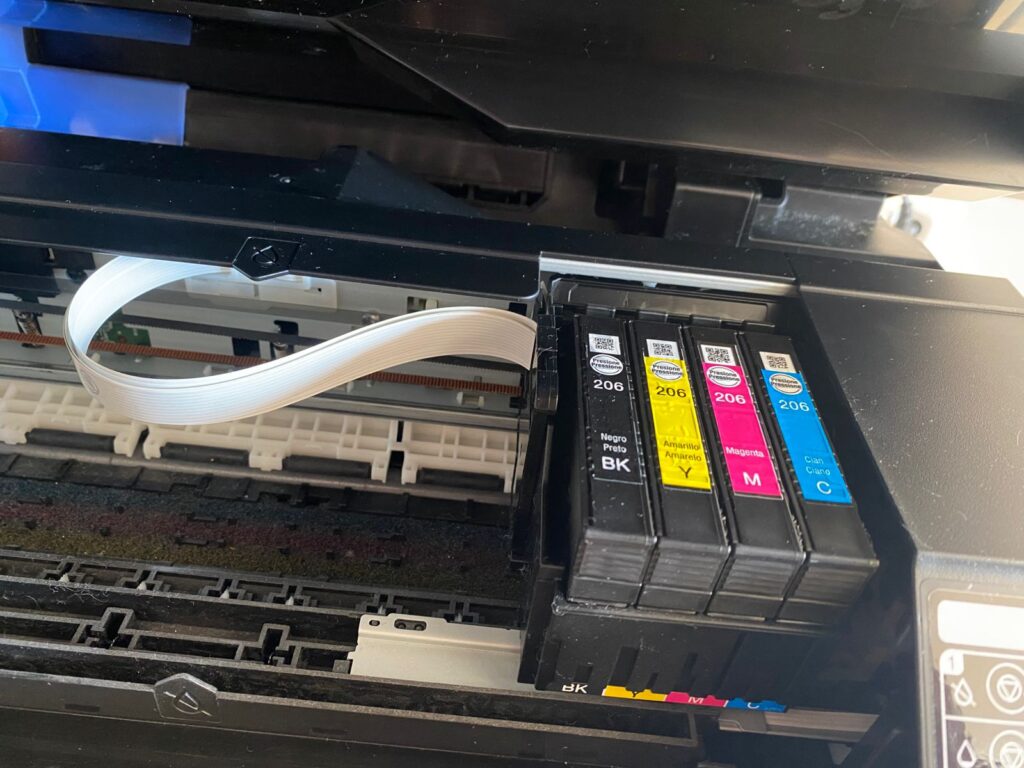
initial or reload ink position:
low level ink indicator position:
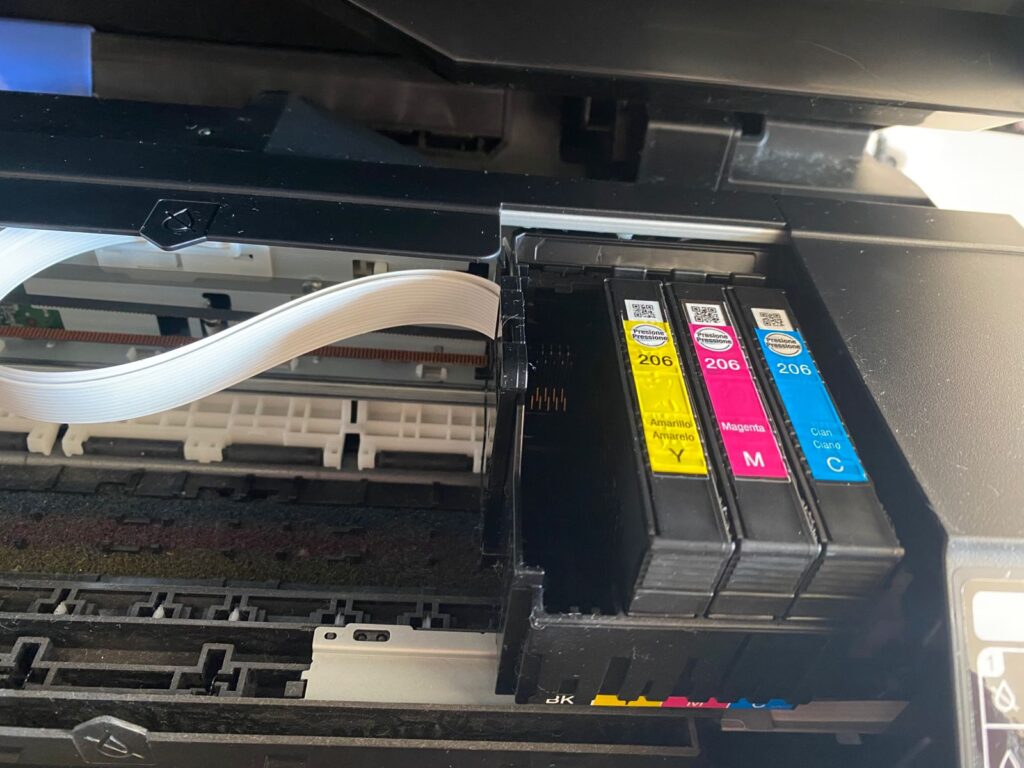
cartridge replacement position:
To change the position of the cartridge box, you must hold down the reload button for 5 to 10 seconds.
to reload ink:
The printer will show a droplet of ink in orange, indicating that one or more cartridges are low on ink
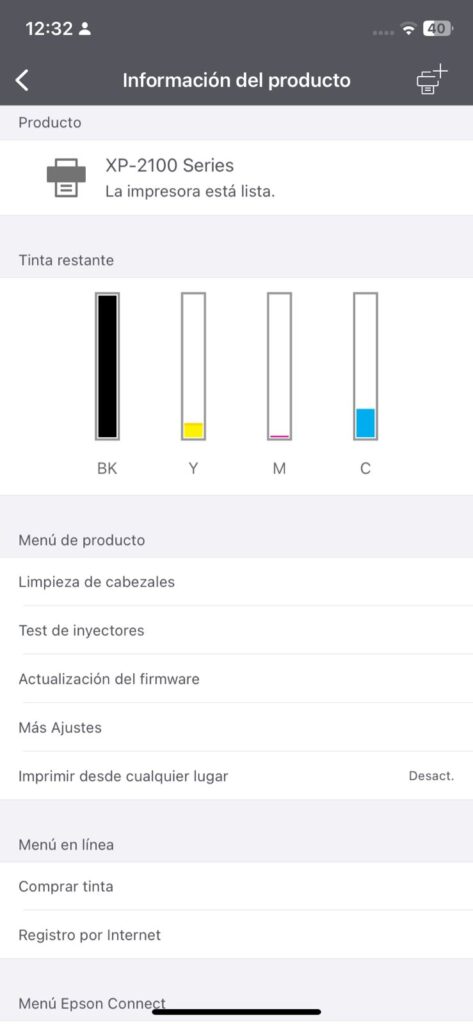
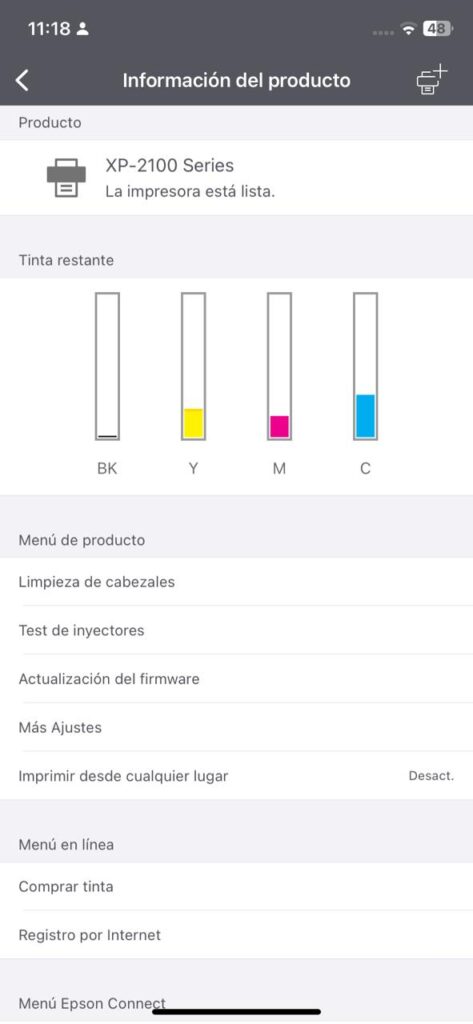
Check the ink levels in the application (epson smart panel and the printer must be paired with the router that is in LAN by the WPS system)
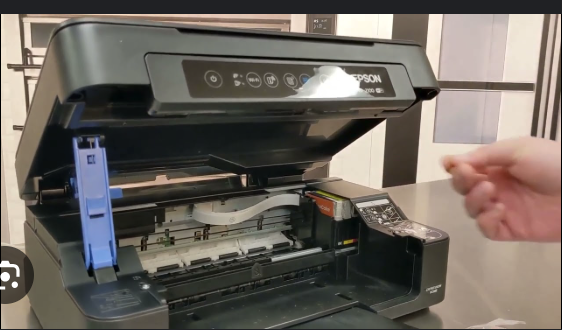
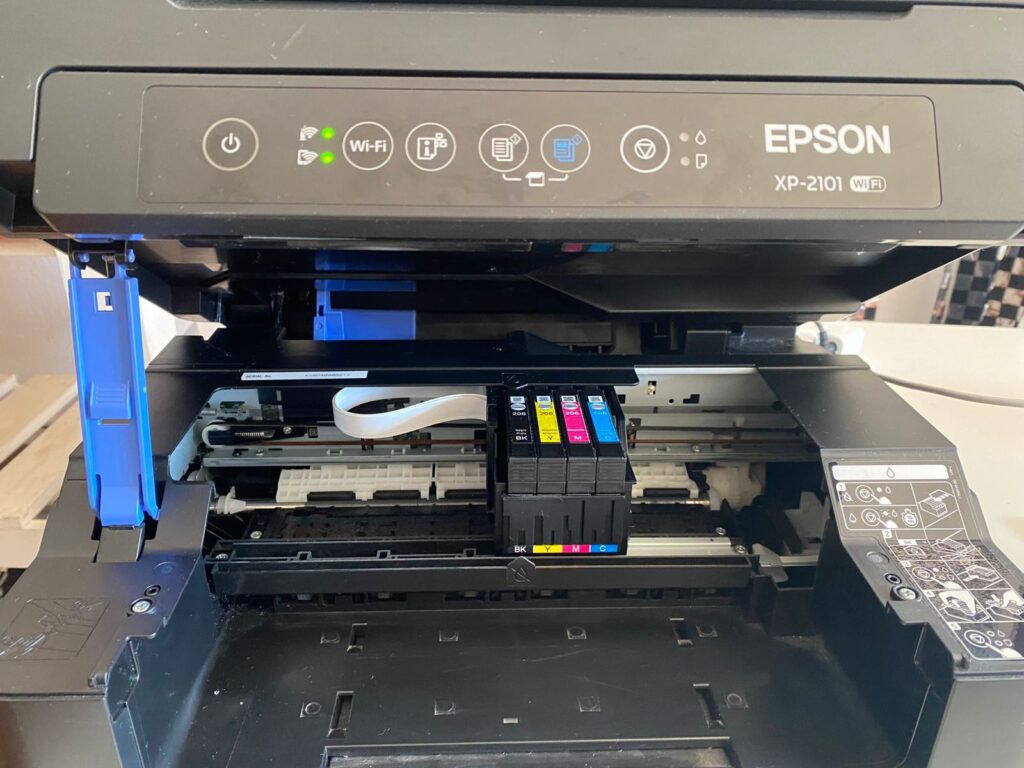
you must open the scanner unit
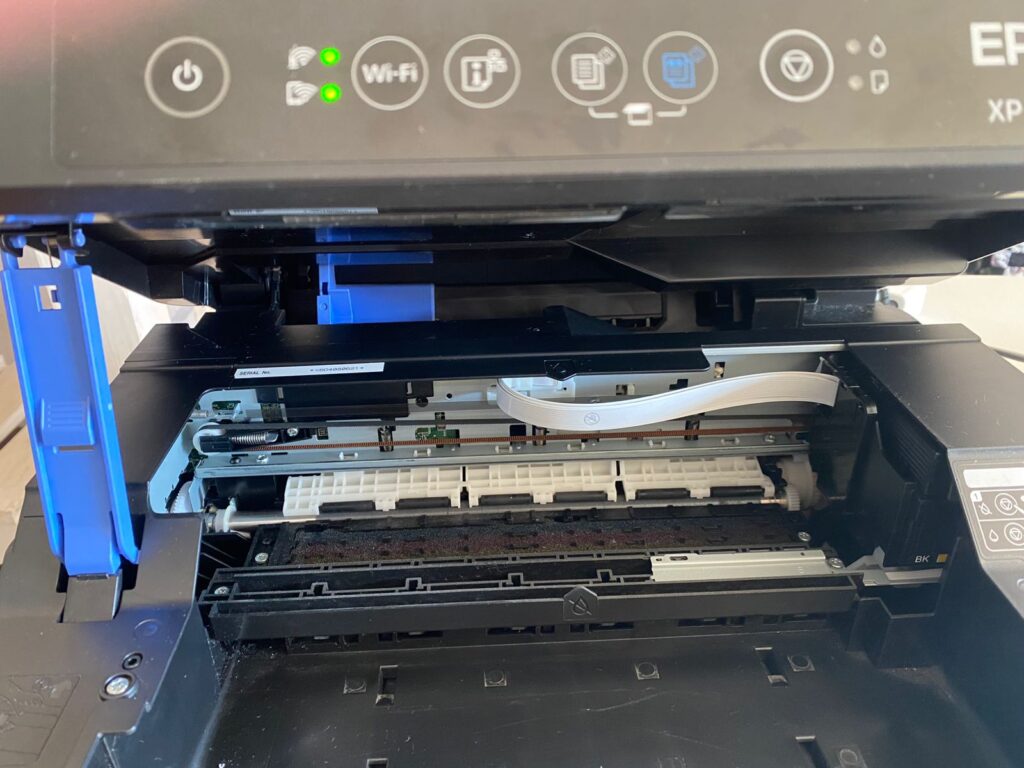
With the scanner unit open, you must press the reload button for 10 seconds.

The box containing the cartridges will move to the position that indicates which cartridges are low on ink.

That position only indicates that cartridges has little or no ink. If you press the button, the cartridges move to the same area or position, it will indicate that another cartridge does not have much ink. Otherwise, it will move to the cartridge replacement position.
It is very important not to replace the cartridges in this position. (that is to say in the position that indicates that the cartridges are low on ink)
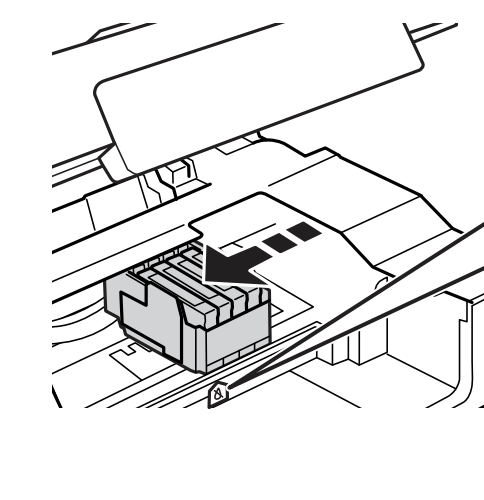
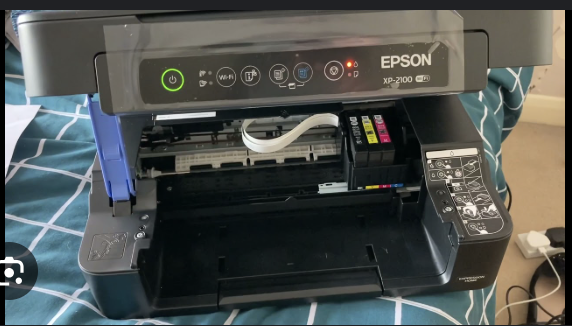
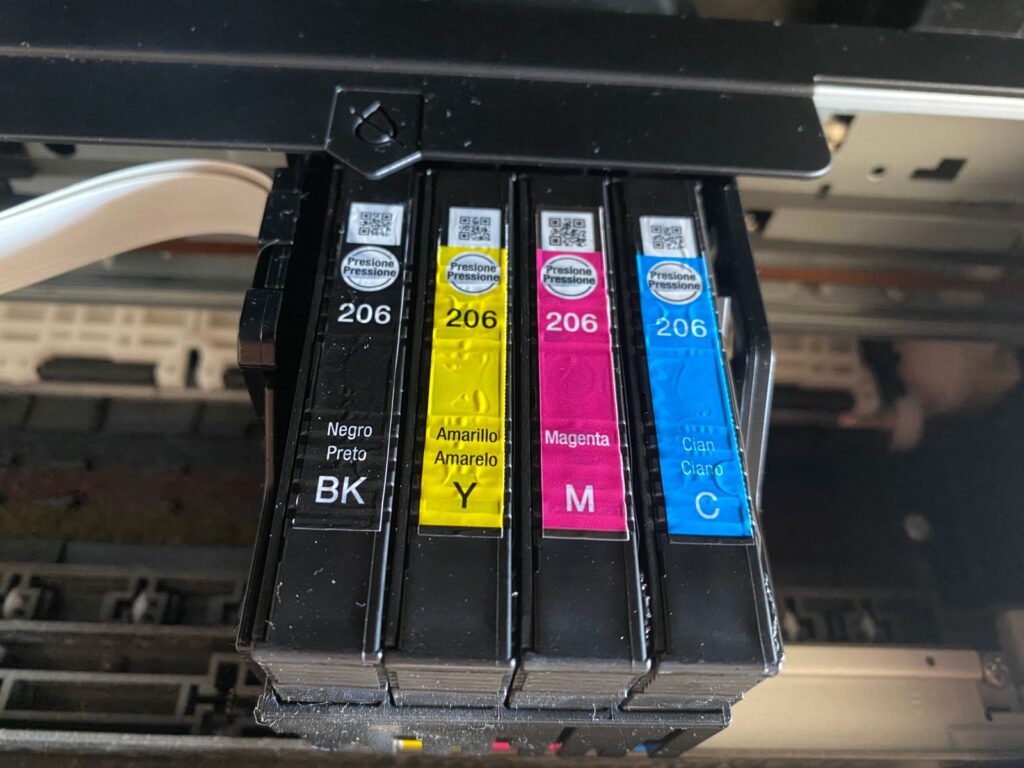
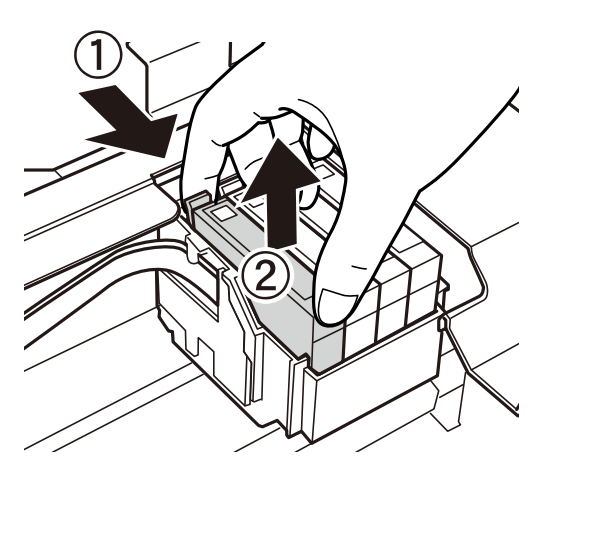
when you move to the cartridge replacement position:
When you move the box containing the cartridges to the replacement position, you can change the necessary cartridges.
It is very important to shake the black cartridge and if it is colored you should not shake it.
Another very important thing is that you should not touch or dirty the chip that the cartridge contains
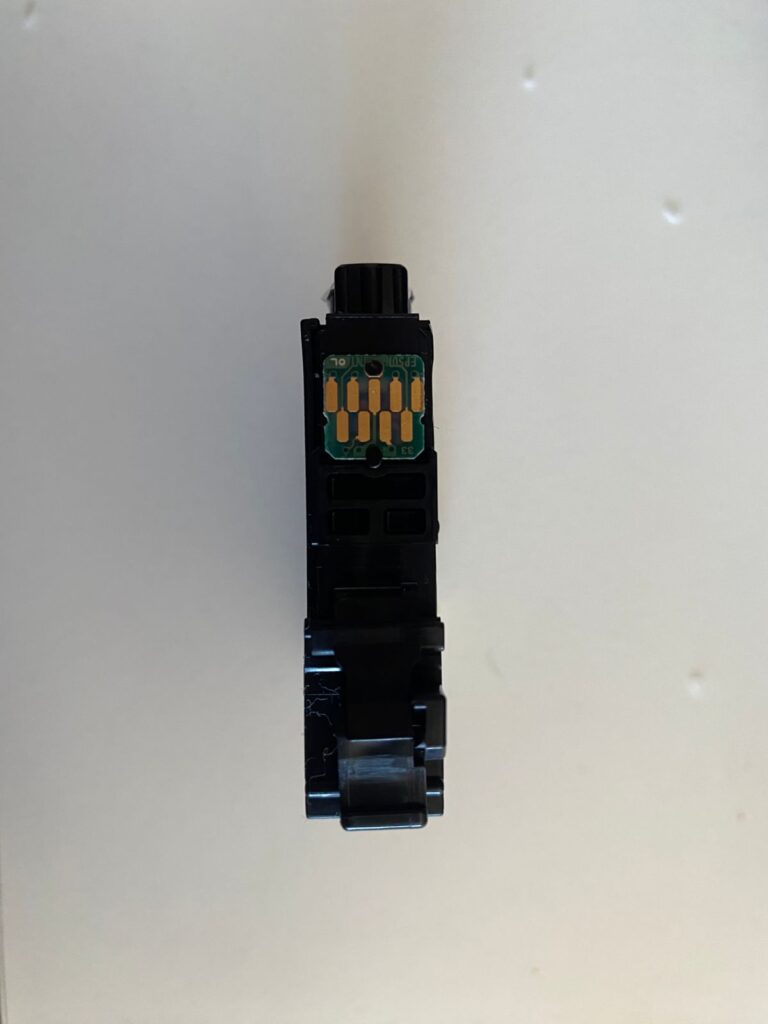
The cartridge comes with a yellow security tape
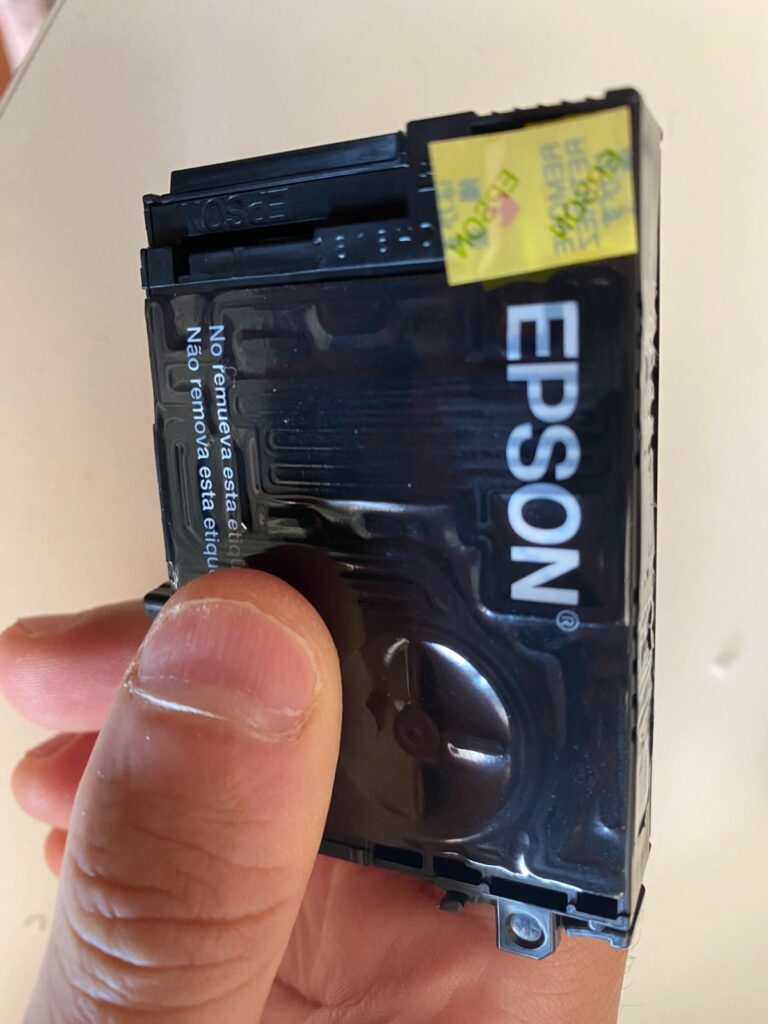
you must remove the yellow safety tape
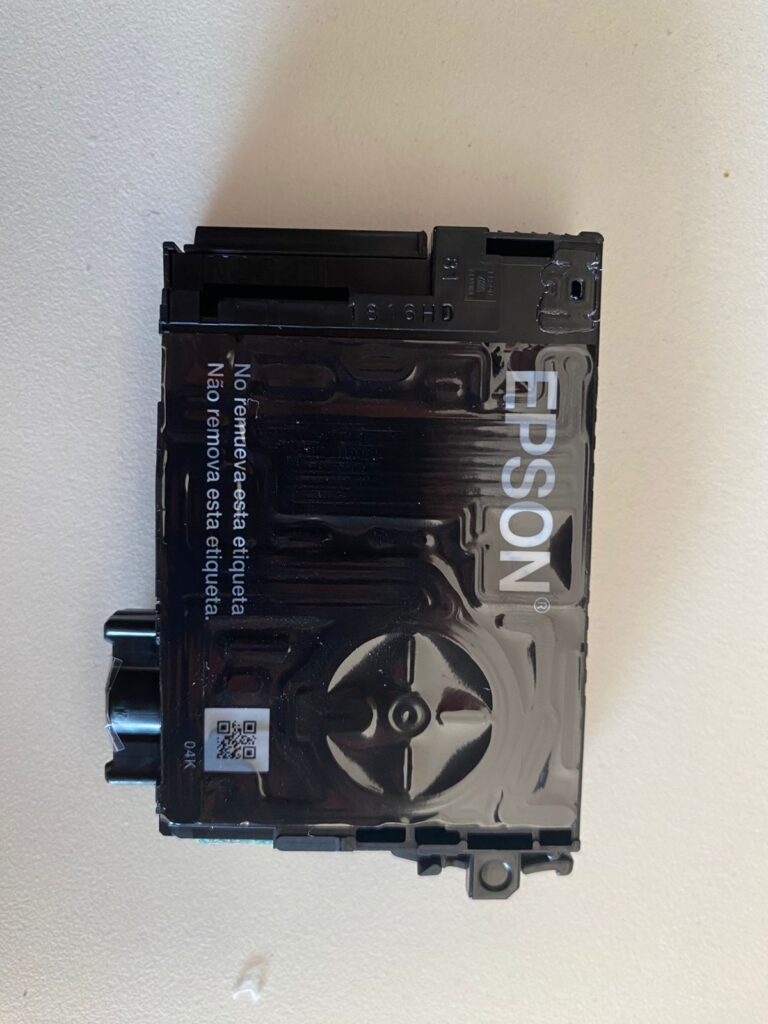
the cartridge should look like this:
You must remove the cartridge with little ink (in my case it is the black one)
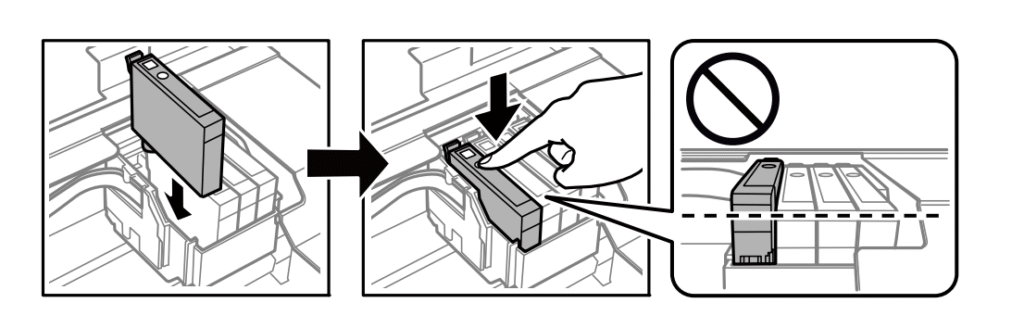
You must insert the new cartridge and it should make a click:
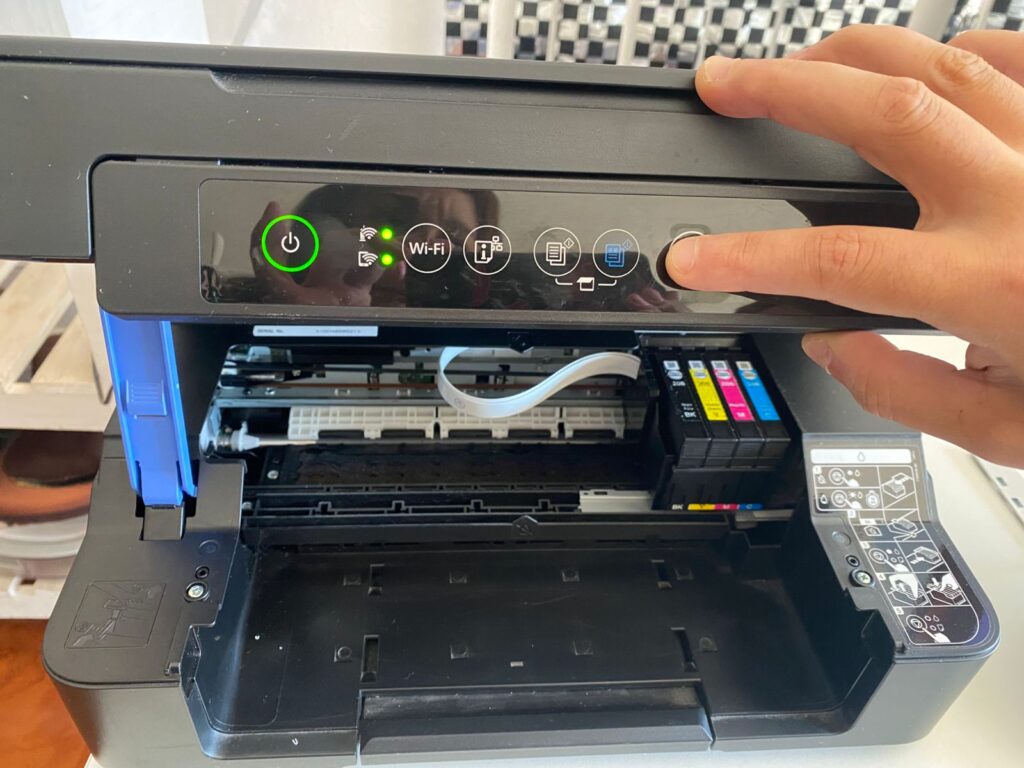
Once you have replaced the cartridges, you must press the refill button for 10 seconds and the printer will proceed to recharge (It will take approximately 2 minutes for the printer to load the ink. Do not touch anything during this time).
below is an image:
You can check the ink levels in the cell phone app (If the printer is connected to the router via WPS) (epson smart panel app and the printer must be paired with the router that is in LAN by the WPS system).
The printer consumes a little ink from all the cartridges, so you will see that the ink levels are lower: