When you generate a new GPG key, the existing key is neither deleted nor affected. Both will coexist in your local GPG keybox.
When you run
gpg --list-keys
you’ll see both: the old one (XXXXXXXX) and the new one. GPG simply organizes them by their ID. You can have as many keys as you need for different purposes (one for work, another for personal projects, etc)
create a GPG key:
gpg --full-generate-keyor
gpg --full-generate-key --pinentry-mode loopback
Gradle will only use the key that you explicitly specify in the gradle.properties file using the signing.keyId
- If you enter the ID of the new one, it will use the new one.
- If you leave the ID of the old one, it will continue trying to use the old one.
The command will export all your private keys to that file:
gpg --export-secret-keys -o ~/secring.gpgIf you create a new key, you must generate/overwrite the existing file
When you run that command, GPG is asking you for the password you just created for the key
As a security measure, it asks you to prove you are the owner by entering the Passphrase
Without specifying an ID, GPG attempts to export all the private keys you have in your keychain
If you have multiple keys, the system will ask for the password for each one in order to unlock them and add them to the file
If you cancel that part, I would move on to the next one
If you only want to use the new key, you must specify its ID in the export command. This way, it will only ask for the password for the new key, and the file will only contain that key:
gpg --export-secret-keys -o ~/secring.gpg THE_NEW_IDReplace THE_NEW_ID with the 8 characters of your new RSA key
list all gpg keys in your computer:
gpg --list-keys --keyid-format SHORT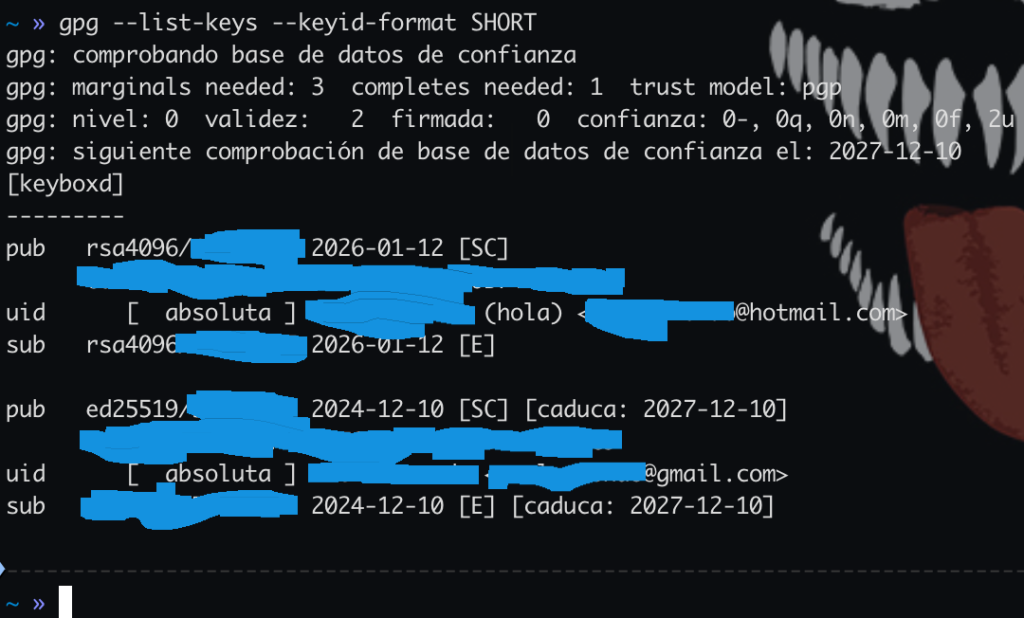
the new ID (example: ABC12345)
sub rsa4096/XXXXXXXX
the id is XXXXXXXX
send the key to a public server of gpg keys
ubuntu server:
gpg --keyserver keyserver.ubuntu.com --send-keys ID_KEYCheck if my key has already been uploaded to the Ubuntu server:
gpg --keyserver keyserver.ubuntu.com --recv-keys IDKEYIt should say:
gpg: Total amount processed: 1
gpg: No change: 1
Steps to perform: 1) create a new gpg key, 2) upload it to a public key server like ubuntu, 3) create the secring.gpg file