create an SSH tunnel
map port xxxx of localhost to port yyyy of a server
ssh -L XXXX:localhost:YYYY username@subdomain.domain.com -p ZZZZYou access the remote port ZZZZ via SSH, instead of the default port 22
another similar command is:
ssh -L XXXX:localhost:YYYY username@domain.com -p ZZZZor
ssh -L XXXX:localhost:YYYY username@www.domain.com -p ZZZZIf you want to access it through the default port 22:
ssh -L XXXX:localhost:YYYY username@www.domain.comIf you were accessing via the standard port (22), the -p option would not be necessary
The -p (Port) option
- What it does: Specifies the specific port to which SSH should connect on the remote server
- Why you use it: Since your server is configured to listen on port ZZZZ (for security or preference), if you don’t specify -p ZZZZ, your pc will attempt to connect through port 22, the connection will be rejected, and you won’t be able to establish the tunnel
- If you were using the port 22: You would simply type ssh -L XXXX:localhost:YYYY username@domain.com
The -L (Local Forwarding) option
This is what makes it possible for you to see Nexus in your Chrome browser. Its structure is -L local_port:remote_host:remote_port
-L XXXX:domain.com:YYYYXXX (the first one): This is the port on your pc. When you type localhost:XXXX in Chrome, your pc knows to send that data through the tunnel
domain.com (the middle one): This refers to how the Ubuntu server should view the traffic once it arrives there
yyyy (the second one): This is the port where Nexus is listening inside the server
The command tells your local PC: “Connect to the server on port xxxx (-p) and create a tunnel (-L) so that when I use port xxxx in my browser, I am actually talking to port yyyy on my server”
When you run that command, two things happen simultaneously:
- SSH session: This logs you into the server so you can run commands (like the one to view the password)
- Active tunnel: As long as that terminal window is open and you’re logged in, the “bridge” to port XXXX on your pc is active.
description:
localhost:XXXX (local pc) -> domain.com and ZZZZ port (remote pc or server) -> localhost:YYYY (in remote pc or server)
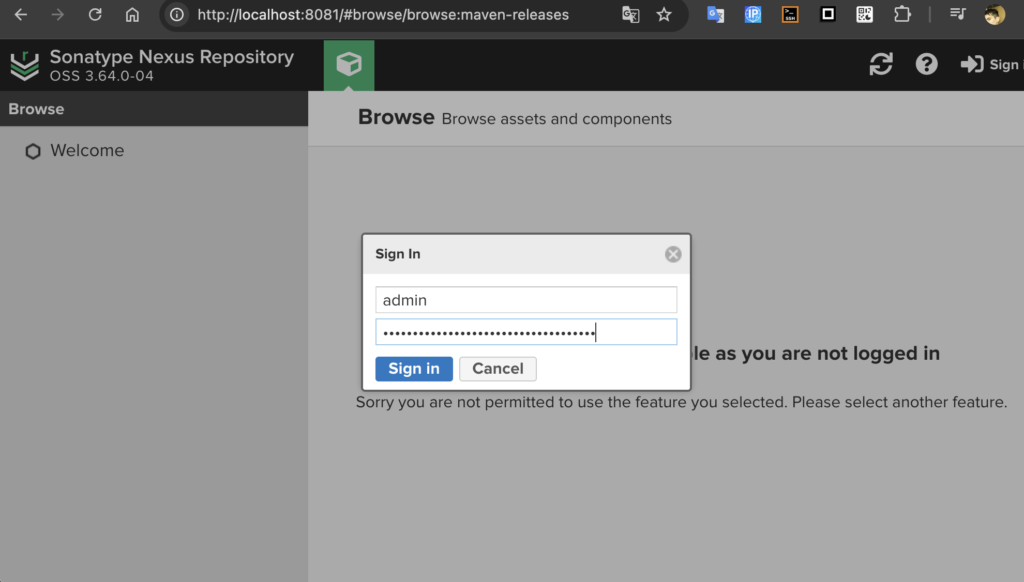
default password of ‘admin’ user
cat /opt/sonatype-work/nexus3/admin.passwordThe first time you access the Nexus repository, you log in with the username ‘admin’ and the password automatically generated by Nexus
Web access (on your local PC):
If this is your first time accessing it, Nexus might display an error; you should give it 1 minute to load everything:
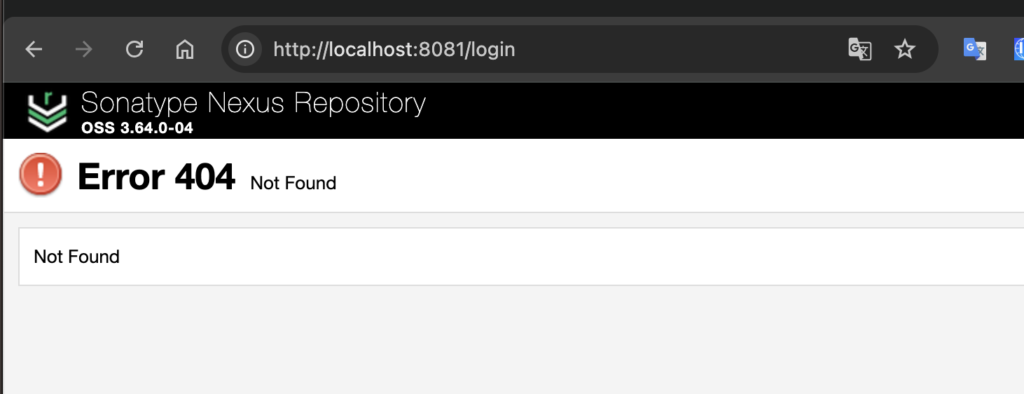
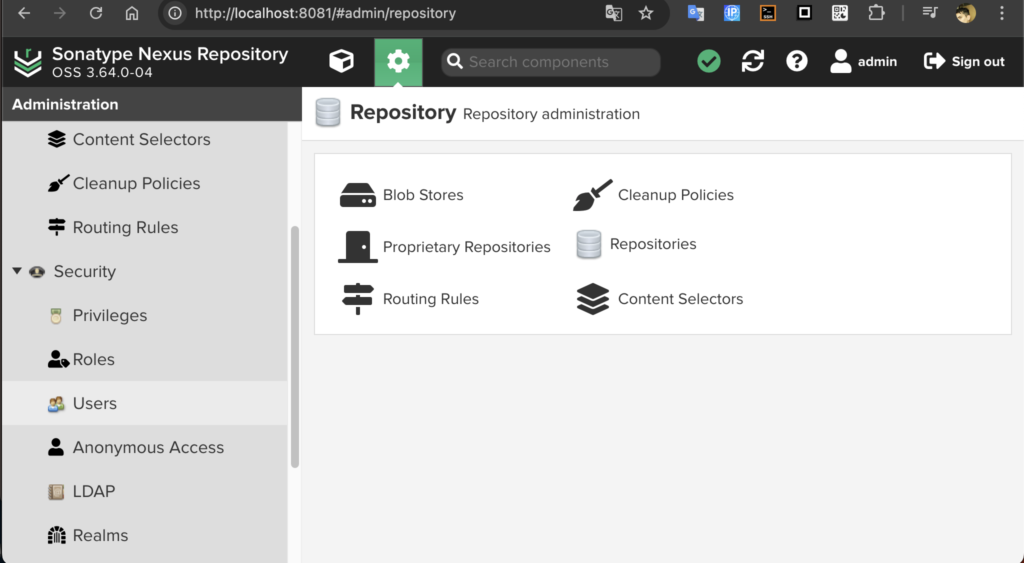
Access to the Nexus repository is via localhost:8081 by default
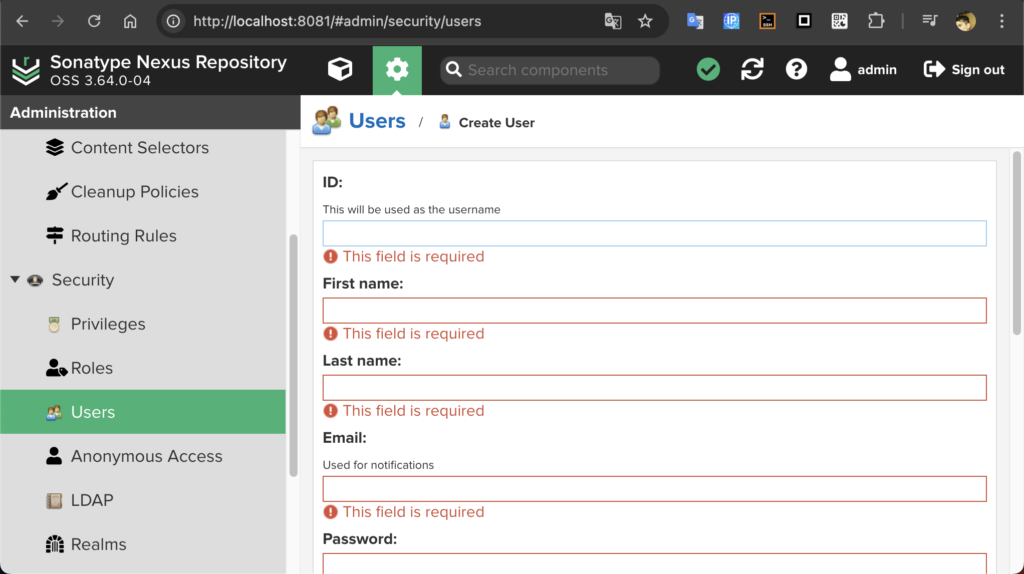
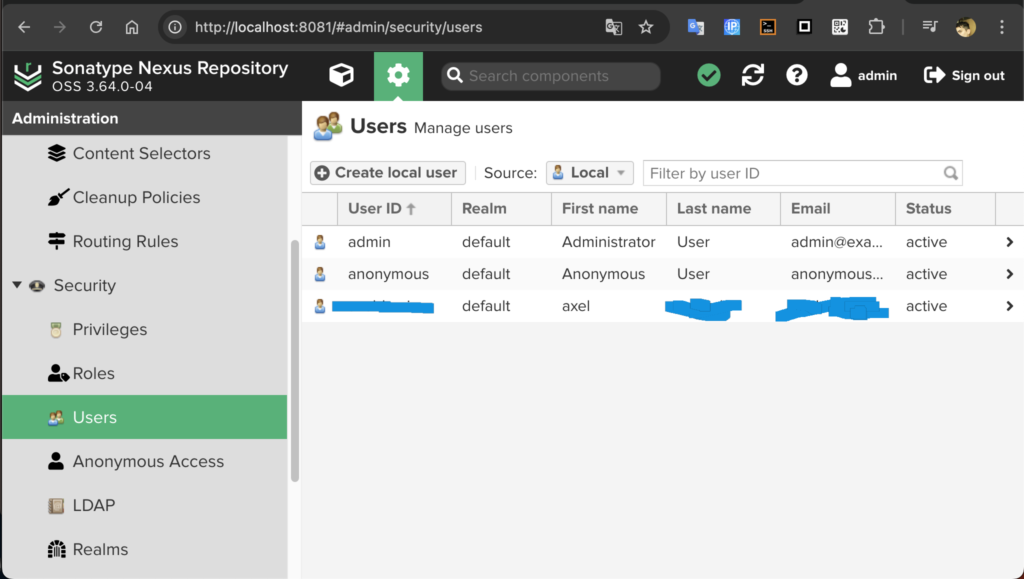
Once logged in with ‘admin’ you must create another username and password